Coffee is kind of an essential around here. Most of us can’t imagine a day that doesn’t begin with a hot cup of joe (or an ice-cold glass of smooth cold brew). The aroma alone can perk up your senses, preparing you for a busy day before you even take your first sip.
Making coffee can be as personal as choosing your favorite variety of beans. The method used affects the strength of the resulting coffee and its caffeine content. There are so many different methods to choose from: iconic drip coffee systems, trendy pour-overs, quick-and-easy single-cup Keurigs and the patience-required French press. By comparison, percolator coffee seems a little old-fashioned, but it has experienced a revival in today’s coffee age.
Is learning how to use a percolator the key to brewing the perfect cup of coffee? Read on to find out.
What Is a Coffee Percolator?
A coffee percolator is a kettle with separate chambers for the water and coffee grounds. Most people associate them with camping because the device works just as well on a campfire as it does on the stovetop. Today’s percolators aren’t limited to flame-based cooking methods, and electric models make it easier than ever to peak coffee.
(Psst: Percolators can be used to make other beverages, too, like this fruity percolator punch.)
How Does a Percolator Work?
Percolators have two chambers: a lower chamber for the water and an upper area with a basket to house the ground coffee beans. As the water heats, it’s forced through a vertical tube that passes over the coffee grounds before dripping back to the bottom of the pot. Unlike other brewing methods, percolator coffee is brewed multiple times. Every time the now-flavored water drips down, it’s passed once again through those grounds to create an incredibly aromatic cup of coffee.
Unfortunately, it’s easy to over-brew coffee using a percolator. Drip coffee and pour-over brewing methods only pass the water through the grounds one time, so it’s easy to control the flavor. Like French press coffee, we recommend using a timer to regulate the strength of the coffee.
How to Make Coffee in a Percolator

You’ll Need:
- Coarsely ground coffee
- Water
Directions
Step 1: Prep the percolator
Clean the percolator before starting. Any leftover coffee grounds can affect the flavor of the new batch.
Then add water to the reservoir, paying attention to the manufacturer’s directions for maximum water level. In general, two cups of water make one mug of coffee. (You may have to take apart the stand and stem to reach the reservoir. If so, put the pieces back together once the water is in place.)
Step 2: Add the grounds
Add the coffee grounds to the upper basket. Use a tablespoon of grounds per cup for a strong coffee or a teaspoon ground per cup for a weaker coffee.
Make sure the percolator is assembled with everything screwed together and the lid in place.
Step 3: Heat
Place the percolator on the stovetop and heat it over medium heat. Heat the percolator slowly until it starts peaking, monitoring the progress through the glass top. Reduce the heat so the water is hot but not simmering or boiling. You shouldn’t be able to see any steam coming out of the percolator.
For electric percolators, plug the unit in and heat the water following the manufacturer’s directions.
Step 4: Perk!
Percolate the coffee for seven to ten minutes, depending on the desired strength.
Step 5: Let the coffee rest
Remove the percolator from the heat. Using oven mitts, remove the coffee grounds basket and discard the spent grounds.
Let the coffee sit for a few minutes before serving. Some grounds may make their way into the coffee, and this resting period gives them the opportunity to settle to the bottom of the percolator.
FAQs About Using a Percolator

What is the best coffee for a percolator?
The coffee beans you choose make a huge difference for percolator coffee. The coffee is rebrewed several times, so dark roasts can be too overpowering. Look for low-acidity coffee labeled as light-roast, smooth or mild. It’s also important to coarsely grind the beans so they don’t fall through the basket and make their way into the finished coffee.
How much coffee do you put in a percolator?
After the first few brews, you’ll get a good idea of how much coffee you need for making percolator coffee. In general, use one tablespoon of coarsely ground coffee per cup of water to make a strong brew. For a weaker brew, use a teaspoon per cup.
How long do you let coffee percolate in a percolator?
Depending on the desired strength level, you’ll want to percolate coffee for 7 to 10 minutes. It’s important to keep even heat in the percolator during this process (an area where electric coffee percolators definitely shine). If the water gets too hot and produces steam, the coffee will be over-extracted and will taste extremely bitter, even if you brew it for a short period. Alternatively, the water won’t be able to extract maximum flavor from the grounds if it’s not hot enough.
The Best Coffee Percolator
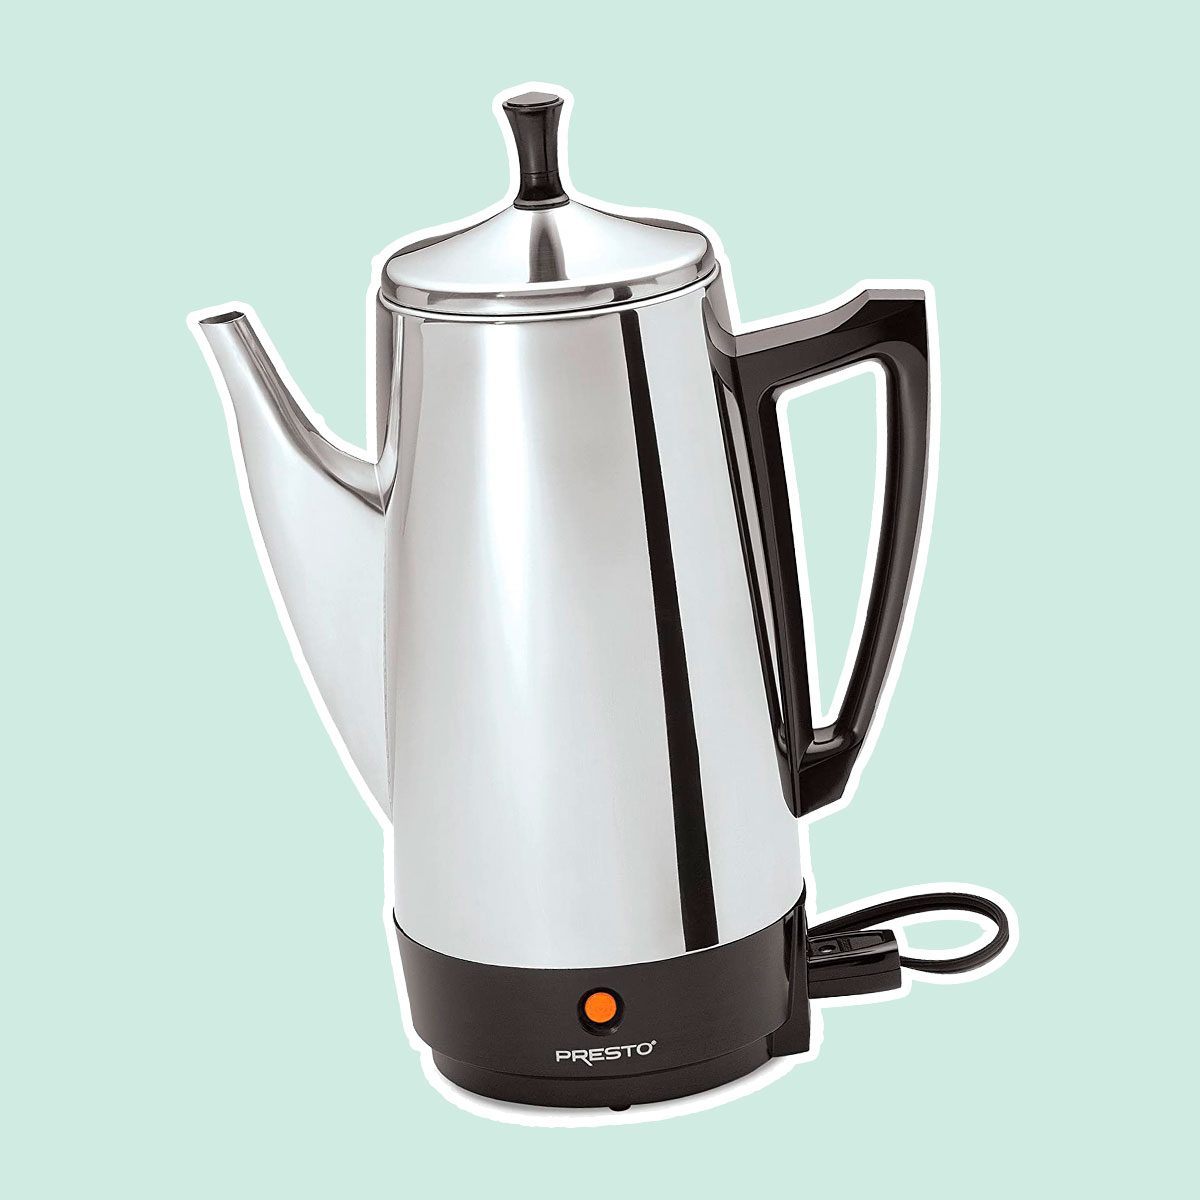
For an electric percolator, this Presto 12-cup stainless steel coffee maker is the way to go. Sarah Farmer, Taste of Home’s Executive Culinary Director, says this brand has been around a long time and always performs well. It’s capable of brewing up to 12 cups (or as little as two cups) at a time.
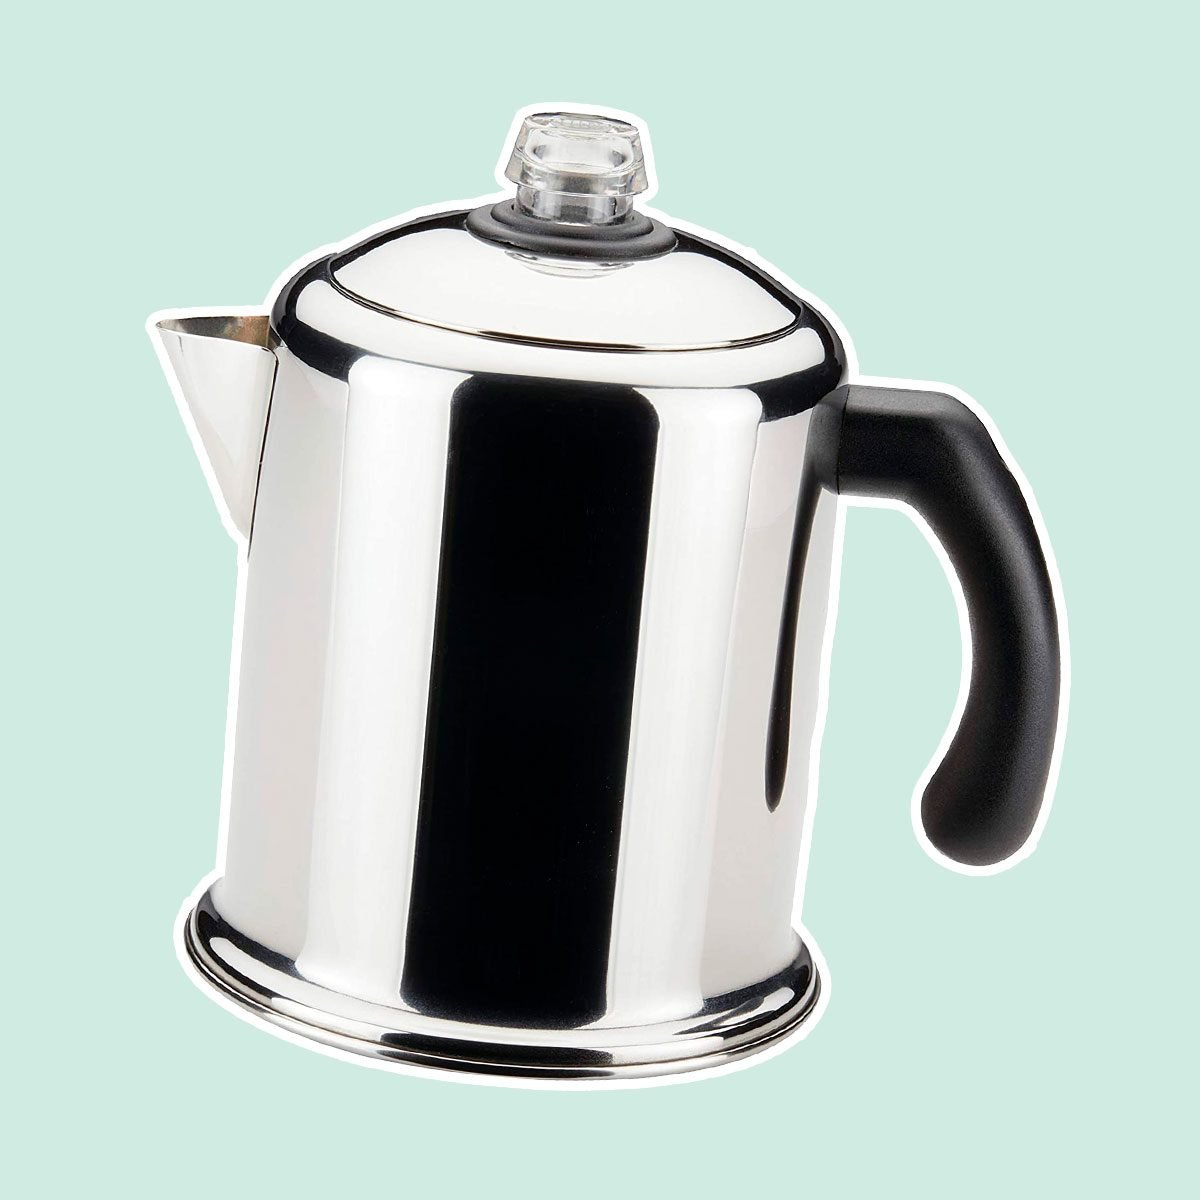
For a stovetop version, try the Farberware 8-cup stainless steel coffee percolator. It’s an economical option, and it features a glass knob on top to know when the peaking process begins. Both are good features for beginner percolating!
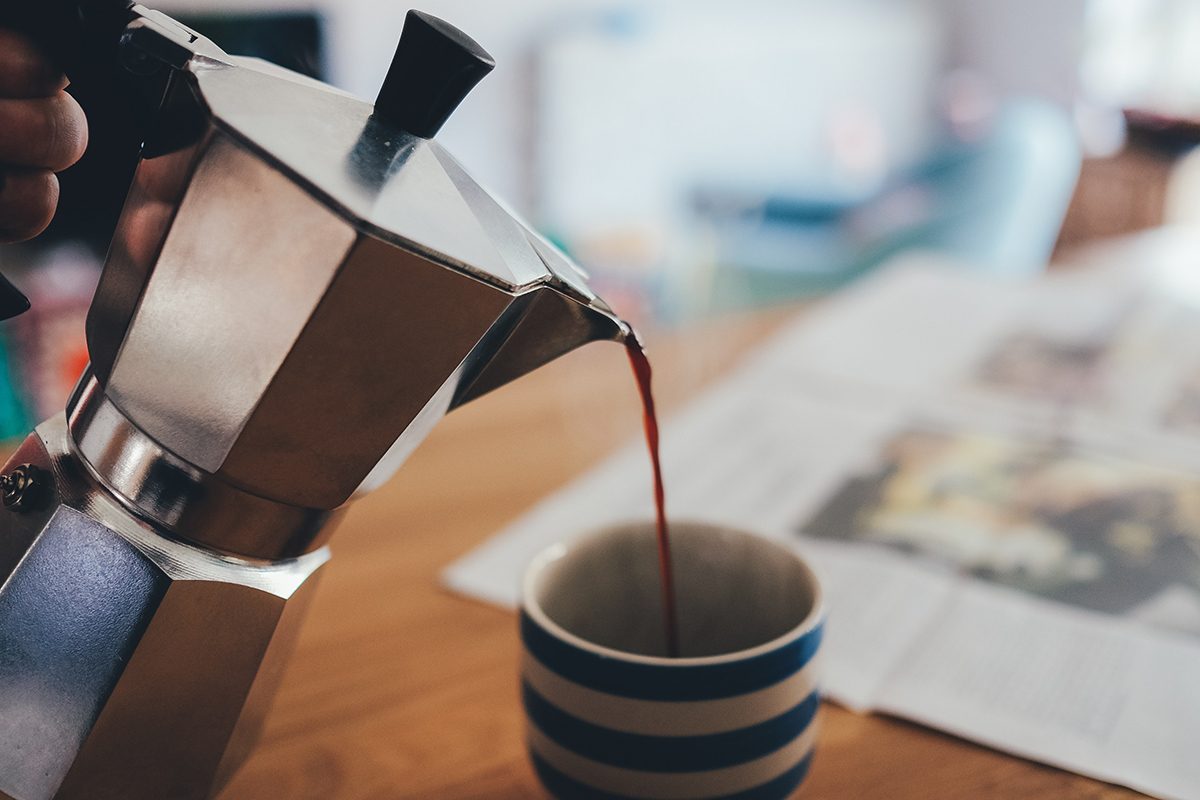
If neither percolator looked like what you were expecting, you may be thinking of a Moka, like the Bialetti Moka Express 3-cup stovetop coffee maker. Unlike traditional percolators that use gravity to brew coffee, these models use pressure. The brewed coffee is also kept in a separate chamber, so it’s only brewed once.
How to Clean a Percolator
The easiest way to clean a percolator is right after brewing. The coffee grounds can become a dense cake if they’re allowed to dry in the basket. Similarly, leaving brewed coffee in the chamber overnight can stain the walls, affecting the flavor of the next brew. Use warm, soapy water to clean the brewing basket, the water chamber and the stem that connects the two, scrubbing lightly with a sponge as necessary.
For built-on stains and oil residue, deep-clean your percolator using baking soda or vinegar. Fill the water chamber as if you were brewing coffee. Instead of adding coffee grounds, add either two tablespoons of baking soda or vinegar (but not both). Heat the mixture for 10 minutes before discarding the water. For vinegar cleaning, you may need to add clean water and heat the pot again until the vinegar aroma is no longer present.
Percolator vs. Other Brewing Methods
Is percolator coffee better than drip coffee? French press coffee? Pour-over coffee? Better is a subjective term, so it’s hard for us to give an absolute answer to this question. Instead, we can talk about the difference between percolator coffee and other brewing methods.
If you prefer lighter, more nuanced flavors, drip coffee or pour-over coffee is the method for you. Percolator coffee generally turns out stronger and bolder. It has a similar almost-bitter flavor to coffee made with a French press, although it has a deeper aroma because it’s brewed several times. Unlike a French press, percolators allow you to brew several cups at once, so it may be a better choice for making coffee for a crowd.
Do a side-by-side comparison to find your favorite brewing method and use the leftovers to make these incredible recipes.
The post How to Use a Percolator appeared first on Taste of Home.
Lindsay D. Mattison


