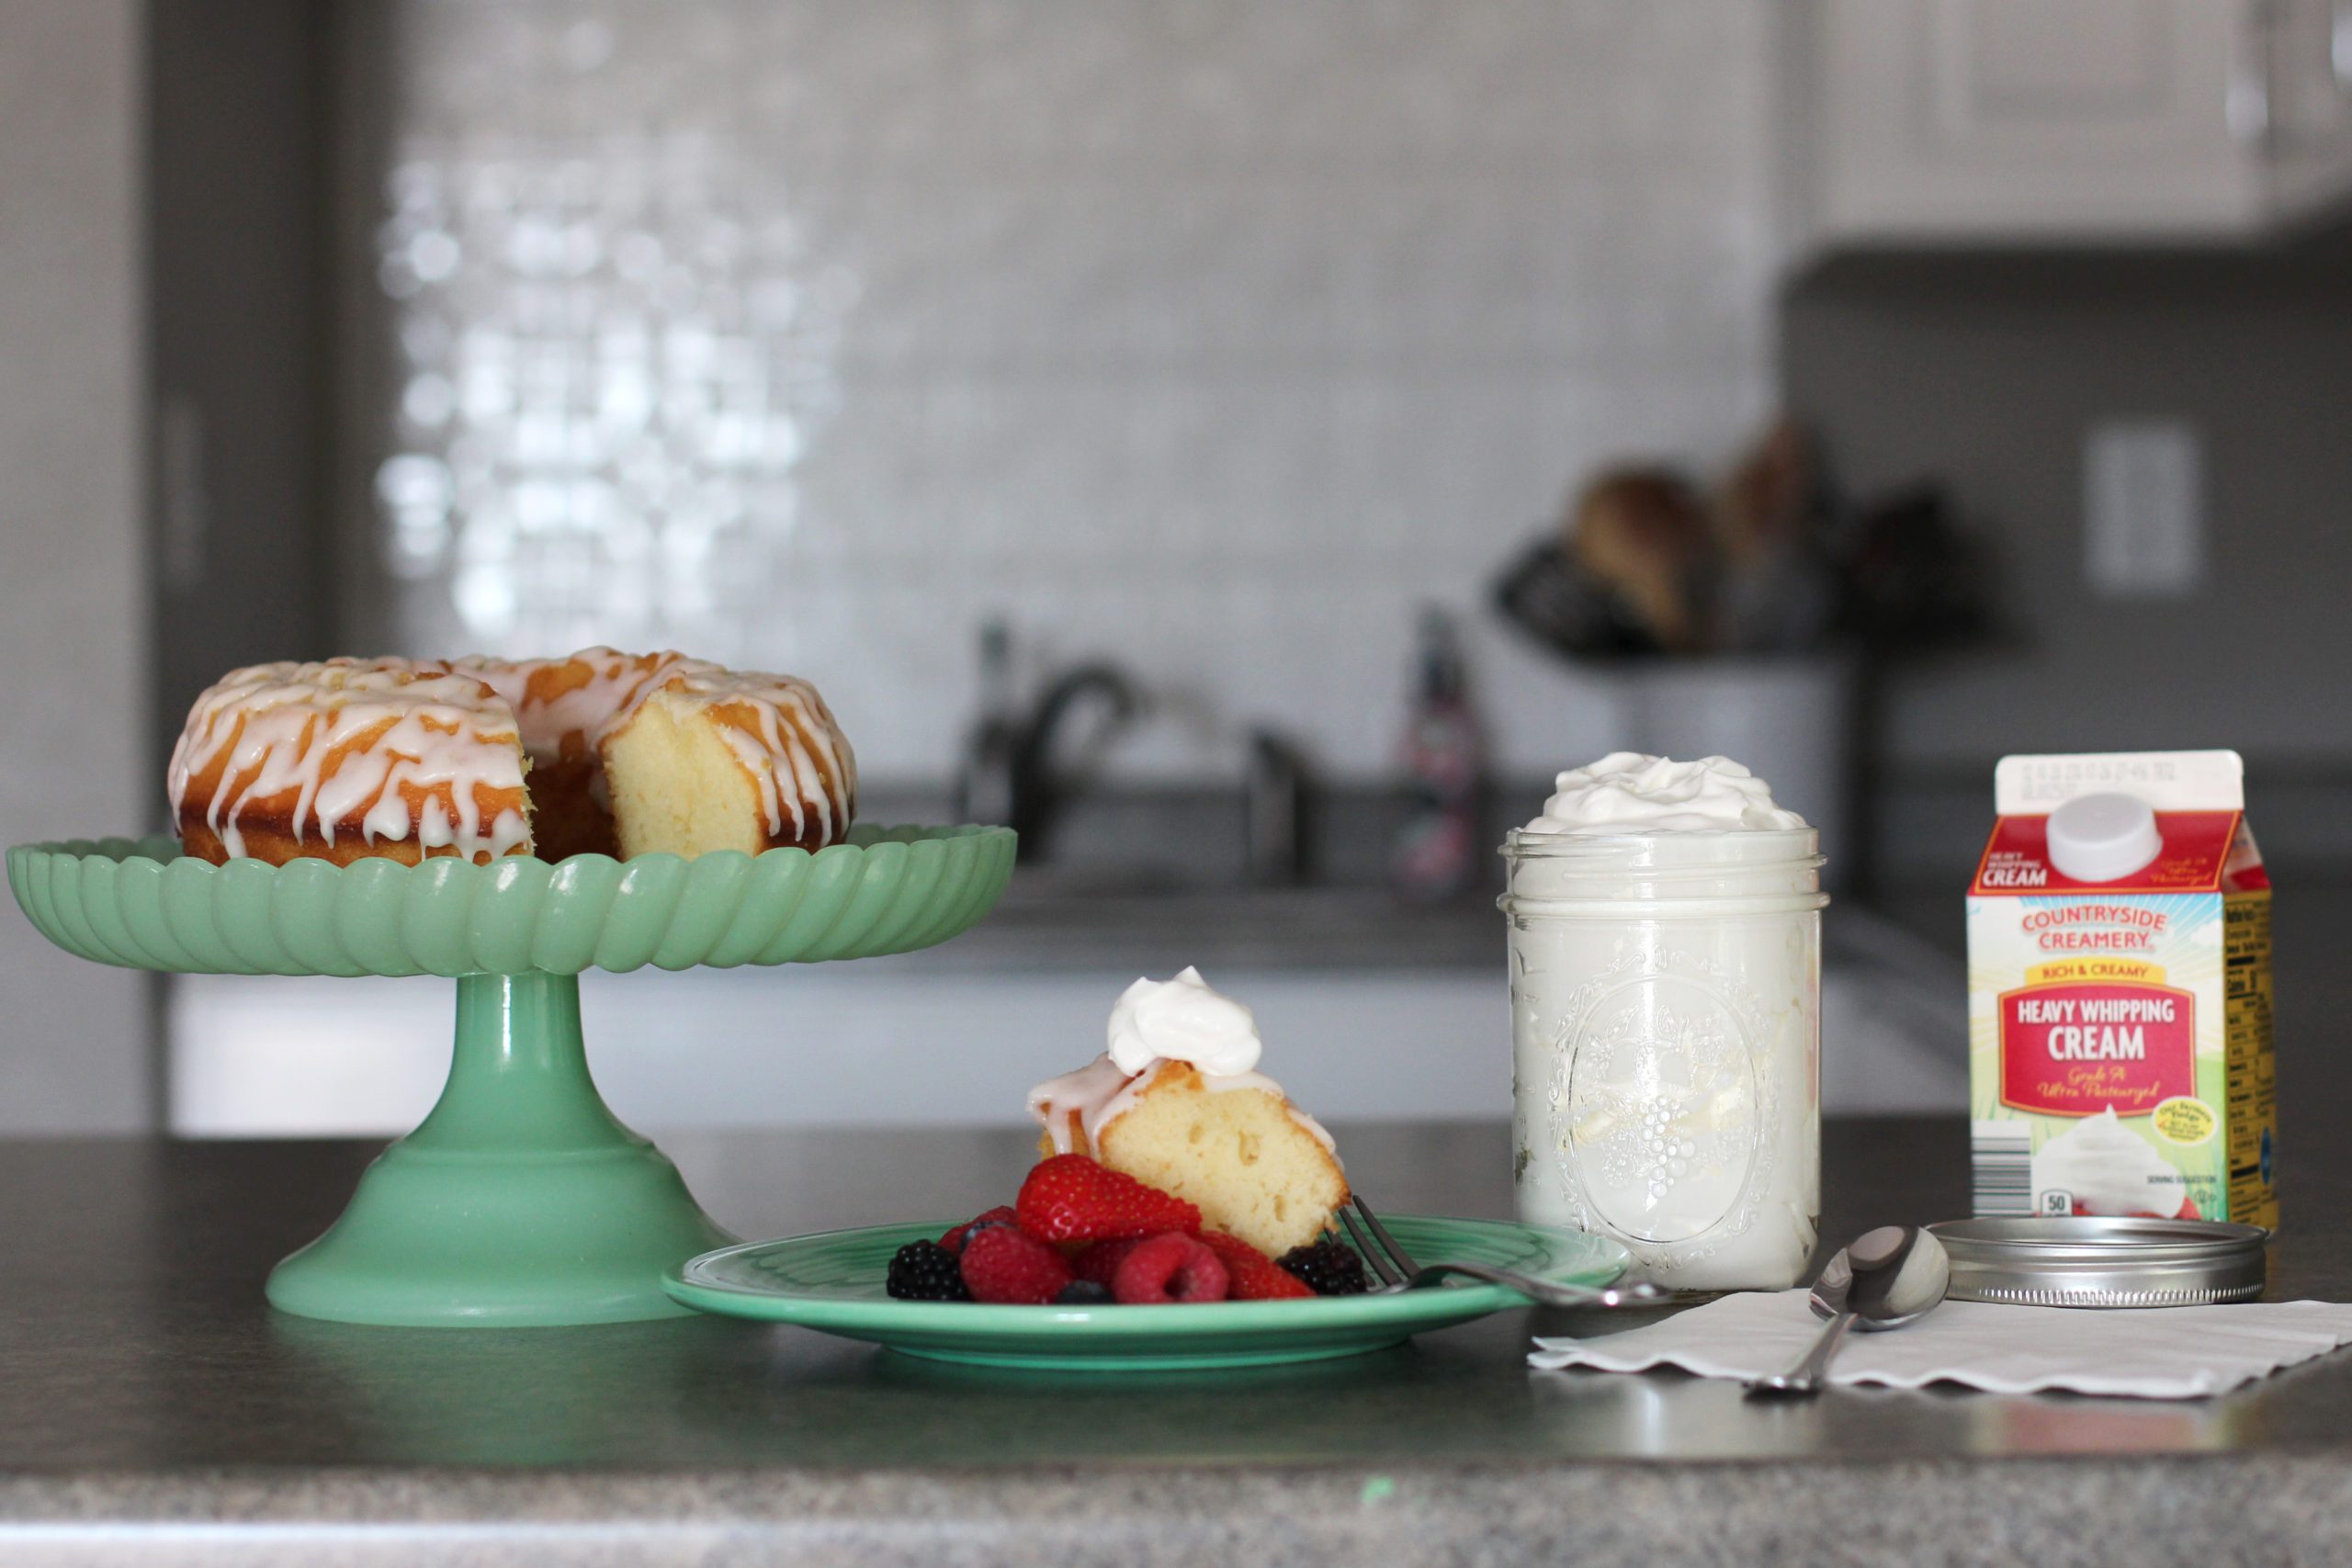
When it comes to cream, I’m whipped. Lofty swirls of rich, billowy cream adorning strawberry shortcake, pumpkin pie or fruit cobbler satisfy that creamy sweet fix I can’t live without.
Most cooks agree homemade whipped cream is better than any store-bought version in a can or tub. But if you don’t own an electric mixer or immersion blender, or don’t feel like lugging one of these appliances out of the cupboard on a busy weeknight, try the “shake” method. With a canning jar and two basic ingredients—heavy cream and confectioners’ sugar—you can quickly shake your way to a cloud of fluffy whipped topping that’s perfect for dolloping on slices of pies, cups of pudding and other family-favorite desserts.
How to Make Whipped Cream in a Jar
What You’ll Need
- A half pint or pint size canning jar with lid
- 1/2 to 1 cup cold heavy cream
- 2 Tbsp. confectioners’ sugar (add more or less as desired)
Directions
Step 1: Make Sure Everything is Cold
About 15 minutes before you prepare the whipped topping, place your canning jar, including the lid, in the freezer. A cold jar will help the liquid cream convert into stiff peaks faster. It’s equally important your cream is cold. The colder your cream, the more voluptuous it will be once whipped, so be sure to use chilled cream straight from the fridge.
Test Kitchen tip: Different brands of cream vary slightly in fat content. We recommend using those labeled “heavy cream” and that contain the most grams of fat per serving, ideally 36%-40% fat. The higher the fat content, the more easily the cream converts from liquid to peaks, and the longer it stays whipped without deflating.
Step 2: Shake Away!
Fill the jar about halfway with the cream (don’t overfill; you want to leave space for the cream to expand). Add confectioners’ sugar. Screw the lid on tight. Vigorously shake the jar for approximately 5-7 minutes.
You’ll know the cream is starting to thicken when the texture becomes soft and billowy and you no longer hear it splashing against the sides of the jar. Continue shaking until the cream reaches your desired consistency.
The cream should be just thick enough to hold its shape in soft billows without weeping or drooping. Dollop the cream on individual dessert servings or use the back of a spoon and a light touch to create pretty peaks and valleys on top of a whole pie or tart.
Test Kitchen tip: Just like when making whipped cream with a hand whisk or an electric mixer, be sure not to shake too long. Cream can go from smooth and creamy to broken and grainy quickly. If that happens, simply add a little more liquid cream and shake just long enough for the texture to become smooth and thick again.
What to Do with Whipped Cream
Whipped cream is great for enhancing quick-to-fix treats and impressive desserts alike. Add a generous spoonful to pies, tarts, ice cream novelties, cheesecakes, custard, pudding, mousse and other sweet indulgences begging for a dollop. It also makes a fun garnish for coffee shop drinks, hot cocoa, crepes, pancakes and waffles.
Some folks prefer whipped cream in its most basic form—just slightly sweetened with a little sugar. But if you want to take the flavor up a notch, enhance your cream with other flavors or add-ins. Measurements depend on the amount of cream in your jar. We recommend starting with just a little and adding more to suit your tastes.
- Extracts such as vanilla, almond or cherry
- Caramel
- Honey
- Maple Syrup
- Ground ginger or cinnamon
- Mini chocolate chips
- Fine instant coffee powder
- Sifted unsweetened cocoa powder
- Liqueur such as Kahlua, amaretto, crème de cacao or Irish cream (mix liqueurs in after shaking for best results)
How to Store Whipped Cream
Any leftover whipped cream can be stored in the refrigerator for 1-2 days. Leave it in the original jar you used for shaking (with the lid screwed on) or transfer to a bowl and cover with plastic wrap.
Added Benefits
Not only is the “shake” method easy and fun, it’s more affordable and eco-friendly than purchasing store-bought whipped topping in an aerosol can or a plastic tub. The small cardboard container can be rinsed and recycled, and since you only have to wash a single canning jar, cleanup is a breeze!
Kids love to shake stuff, so don’t be shy in asking little ones to join in on the fun. Shaking a jar is a fun way to keep them occupied while you finish preparing dinner and will keep their mind off their grumbling tummies. Just be sure the lid is secure and demonstrate the process so they do it safely.
For more advice on creating the perfect whipped cream from scratch, check out these tips from our Test Kitchen pros. You’ll soon be on your way to creating thick, rich homemade cream with all the sigh-inducing sweetness and silkiness you know and love—in no time flat!
The post How to Make Whipped Cream in a Jar appeared first on Taste of Home.
Amy Glander
