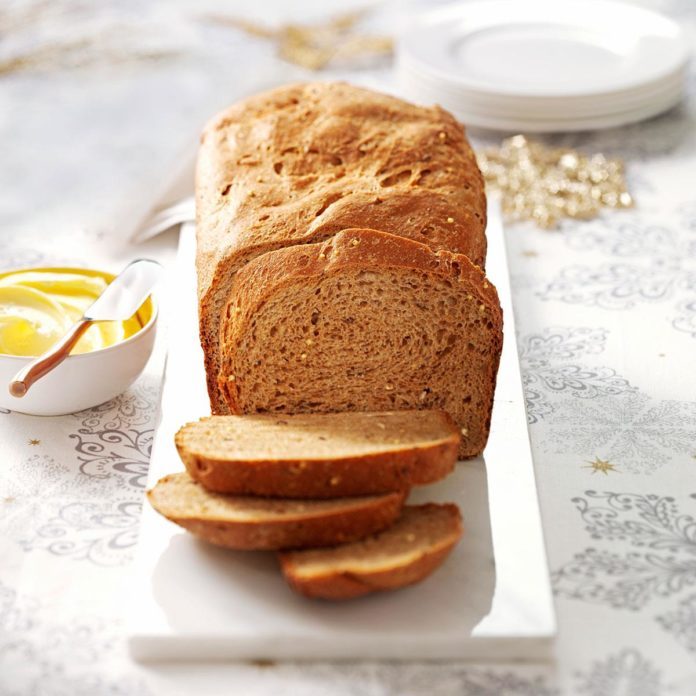
It’s time that I come clean. I am a professionally trained pastry chef and I am afraid of making bread. It started in pastry school when, during an exam, I brought up my dense, flat whole wheat loaf up to my instructor, who took one bite and simply asked “What did you do?”
The problem is, I have never been able to answer that question. For some unexplainable reason, every time I try to make bread, something always goes wrong. From unrisen dough to sinking loaves, I’ve seen it all.
I had accepted my fate. But then quarantine happened, and suddenly it seemed as if the whole world was making sourdough, with or without baking experience. After weeks spent drooling over crusty sourdough loaves on Instagram, I decided I simply couldn’t put it off any longer. It was time to face my fears and bake a great loaf of bread.
Initial Thoughts
For my recipe, I chose to follow our Country Crust Sourdough Bread because of its ease, popularity, and most importantly, foolproof-ness. With yeast added to both the starter and the dough, plus natural yeast that’s developed in the starter over time, this bread has THREE ways to guarantee a rise. The security of this recipe gave me the hope I needed to get started.
How to Make Your Sourdough Starter
Like with all sourdough recipes, the first step is to make the starter. Unlike the typical starter that requires a great deal of time and attention before being turned into sourdough, this starter is ready in a matter of days and can pretty much be forgotten about.
In a large mason jar, I mixed together 2 cups of all-purpose flour, 1 package of active dry yeast and 2 cups of warm water. It’s important to mix well until all the flour is absorbed and no lumps remain—at this stage my mixture was very sticky and thick like a wet dough. I covered it with a piece of plastic wrap and placed it in a cabinet next to my refrigerator where I knew it would stay warm.
After a night’s sleep spent dreaming about all the terrible things happening to my starter, I ripped the Band-Aid off right away and took a peek the next morning—the starter had DOUBLED and had lots of big bubbles on top! I gave it a quick stir and noticed that it had become thinner overnight, which is normal. I repeated this process for three more days and then placed it in the fridge.

How to Make Sourdough Bread
On the day that I was ready to bake, I took my starter out of the fridge and let it come to room temperature. Once warm enough, I gave it its first official feed by removing ½ cup of starter and replacing it with a ½ cup each flour and warm water. My starter had obviously been very hungry because after just an hour it perked up and became bubbly once again.
Ingredients
- 2 packets active dry yeast
- 1-1/4 cup warm water
- 1 cup sourdough starter
- 2 eggs
- 1/4 cup sugar
- 1/4 cup oil
- 1 teaspoon salt
- 6 cups flour
Instructions
Step 1: Start the dough

To start the dough, I bloomed two packets of active dry yeast in 1-1/4 cup warm water in the bowl of my KitchenAid mixer. I then added my sourdough starter, eggs, sugar, oil, salt and 3 cups of flour (this is the first of two additions of flour). I mixed on medium-low with the dough hook to combine before gradually adding the next 3 cups of flour until a shaggy dough formed.
Step 2: Knead
 Then, I dumped the bowl out onto my counter and started to knead. This is perhaps the most important step in the entire process—don’t skimp on the kneading! The recipe gave a timeframe of about 6-8 minutes of kneading but because of my lack of upper body strength, mine took about 15 minutes before it was smooth and elastic. (You can test this by pulling on the dough. If it breaks off right away, it’s not ready.)
Step 3: Let rise
 I placed my beautiful ball of dough into a greased bowl and stuck it in a warm place—for me this is my microwave—to rise for an hour until double.

After this first rise, I punched the dough down and divided it in half, then rolled each half into loaf shapes and let them rise in their pans for another hour. When I checked on them after just 40 minutes, I was shocked to discover they had already started rising over the edge of the pans!
Step 4: Bake
 Toward the end of the second proof, I preheated my oven to 375° F and placed a cast-iron skillet on the bottom shelf. This is a trick I picked up in pastry school. When you place your bread in the oven, pour ½ cup of water into the hot skillet and immediately close the door. This traps steam inside the oven which helps the bread rise and brown evenly.
After 30 minutes, my breads were a perfect golden brown, so I removed them and flipped them out onto a rack to cool completely.
Final Thoughts

I know I said wait until the bread cools “completely,” but who are we kidding here?
I waited about five minutes before I cut myself a slice and see if all my handiwork had paid off. The first thing I noticed was how airy it was. There were visible air bubbles throughout the loaf, and it was so soft, it was like chewing on a cloud. It was so delicious it didn’t even need butter, and trust me, I am NOT someone who passes up butter easily.
Looking back, I was worried over nothing. I let a few bad experiences prevent me from believing in myself and my ability to make a great loaf of bread. The approachability of this recipe was enough to push me to finally face my fears, and boy am I glad I did. There will definitely be more sourdough in my future—I still have starter in my fridge, after all. Who knows, I might even give it a name.
The post I Made Sourdough for the First Time. Here’s What Happened. appeared first on Taste of Home.
Audrey Rompon


