
How to make the best Bundt cake
Bundt cakes make terrific treats because the batters are easy to make, they look gorgeous right out of the pan and require minimal decorating. In short: You get all the wow without a lot of the fuss.
However, using these pans and making these recipes still requires a bit of finesse. To make sure you get your Bundts just right, I chatted with Taste of Home’s Prep Kitchen Manager Catherine Ward, a Bundt cake expert (during our chat, she was in the midst of making 30 bundt cakes for an upcoming photoshoot). Here are are her best tips for successful bundts.
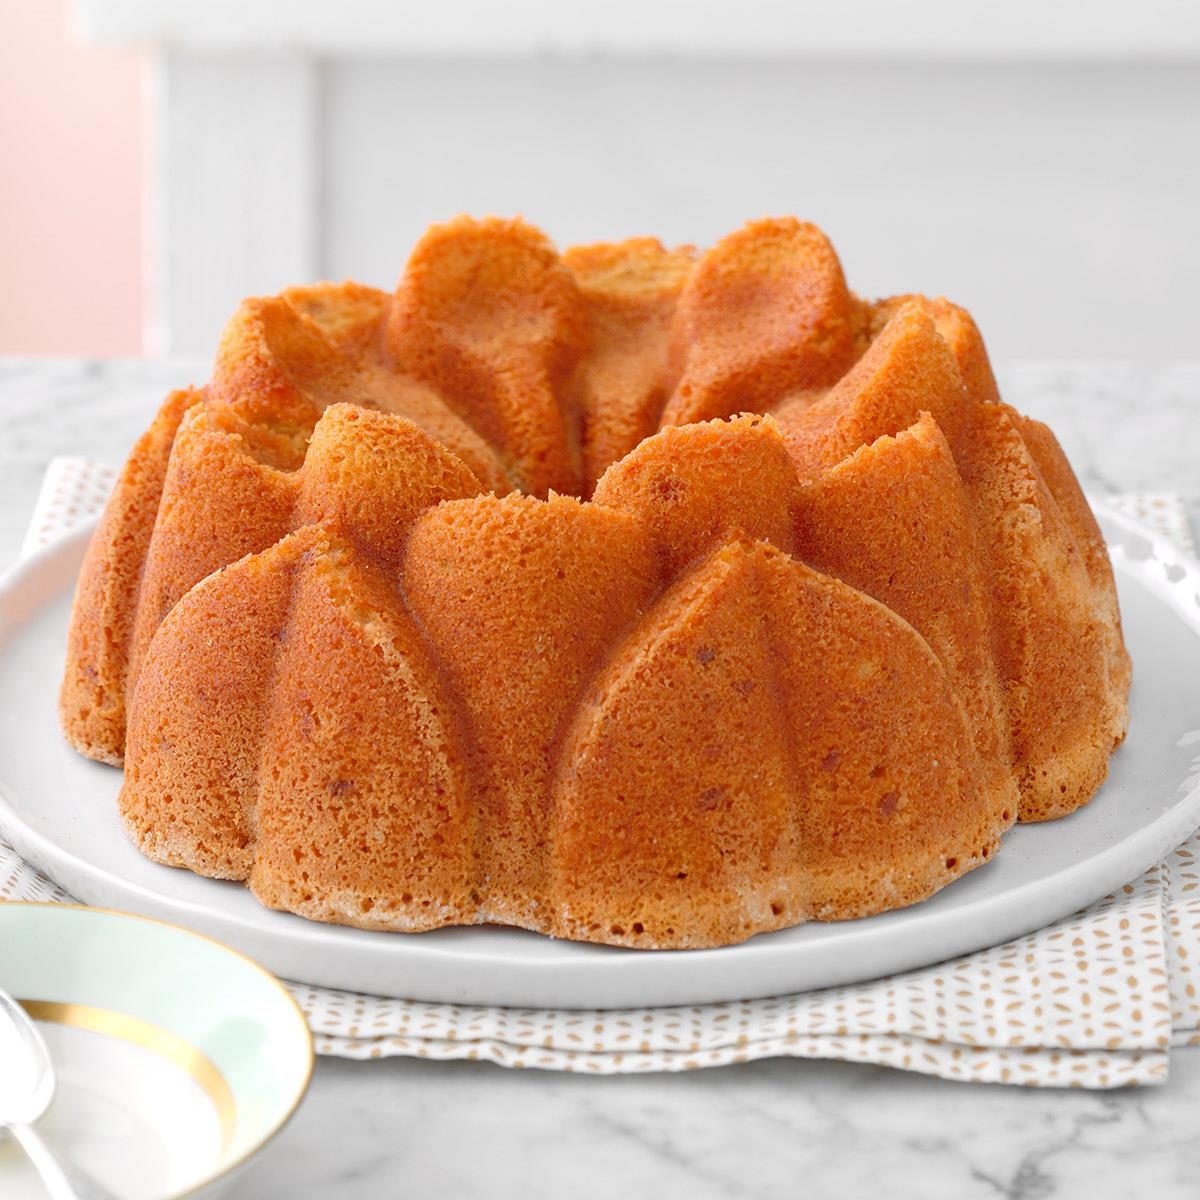
Pick the right recipe
Bundt pans are incredibly versatile. You can bake pound cakes, coffee cakes and other treats in them. However, not all cake recipes are destined to be a Bundt cake.
According to Catherine, denser cake batters do best in these pans. You can easily bake most pound cake recipes in your favorite Bundt pan. “But don’t use a light sponge or box cake mix in a Bundt pan,” she says. These lighter batters don’t have the heft or structural integrity needed to come out of these fancy pans cleanly.

Grease your pan with shortening and dust with flour
The best tip Catherine could give any Bundt baker is to grease the pan with shortening and dust with flour—no butter here! “You don’t want to use butter here. The milk solids in it can cause the cake to stick when it bakes,” Catherine advises.
To grease the Bundt pan, melt shortening and use a classic bristle pastry brush (not a silicone one). Then dust the inside with flour. Give the pan a good bang on your countertop (put a towel down first!) and knock out the excess flour. If you see any misses, regrease that area, sprinkle with flour and repeat.
Choose cooking spray wisely
While greasing your pan with shortening and dusting with flour is our Test Kitchen’s preferred method, you can also use cooking spray to grease your pan. However, not any old spray will do. Catherine says that if you’re going to opt for the spray, make sure it has flour: “Something like Baker’s Joy or Pam with flour works well.”
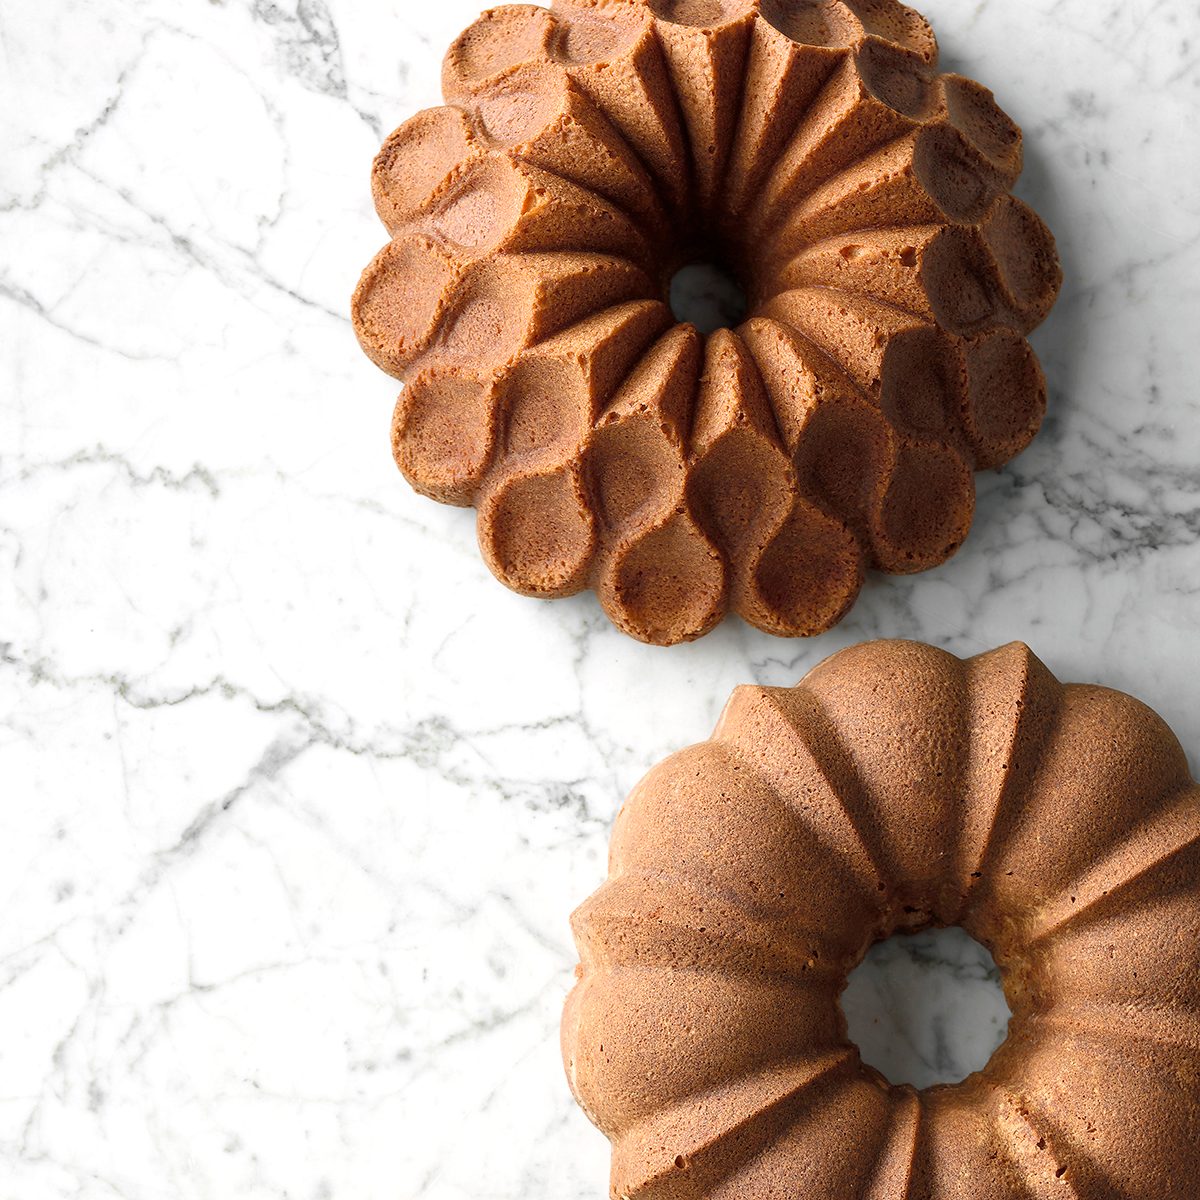
Choose the right pan for your recipe
If you’re an avid baker with plenty of Bundt pans to choose from, make sure you’re picking the right one for your recipe.
Cakes without any extras, like a classic chocolate Bundt cake or butter pound cake, can be baked in any Bundt pan and look especially fabulous in your most elaborate options with lots of grooves and crevices. Catherine warns, though, that “additions like fruit can make the cake stick to the sides, so be sure to use a plainer pan with those recipes.”
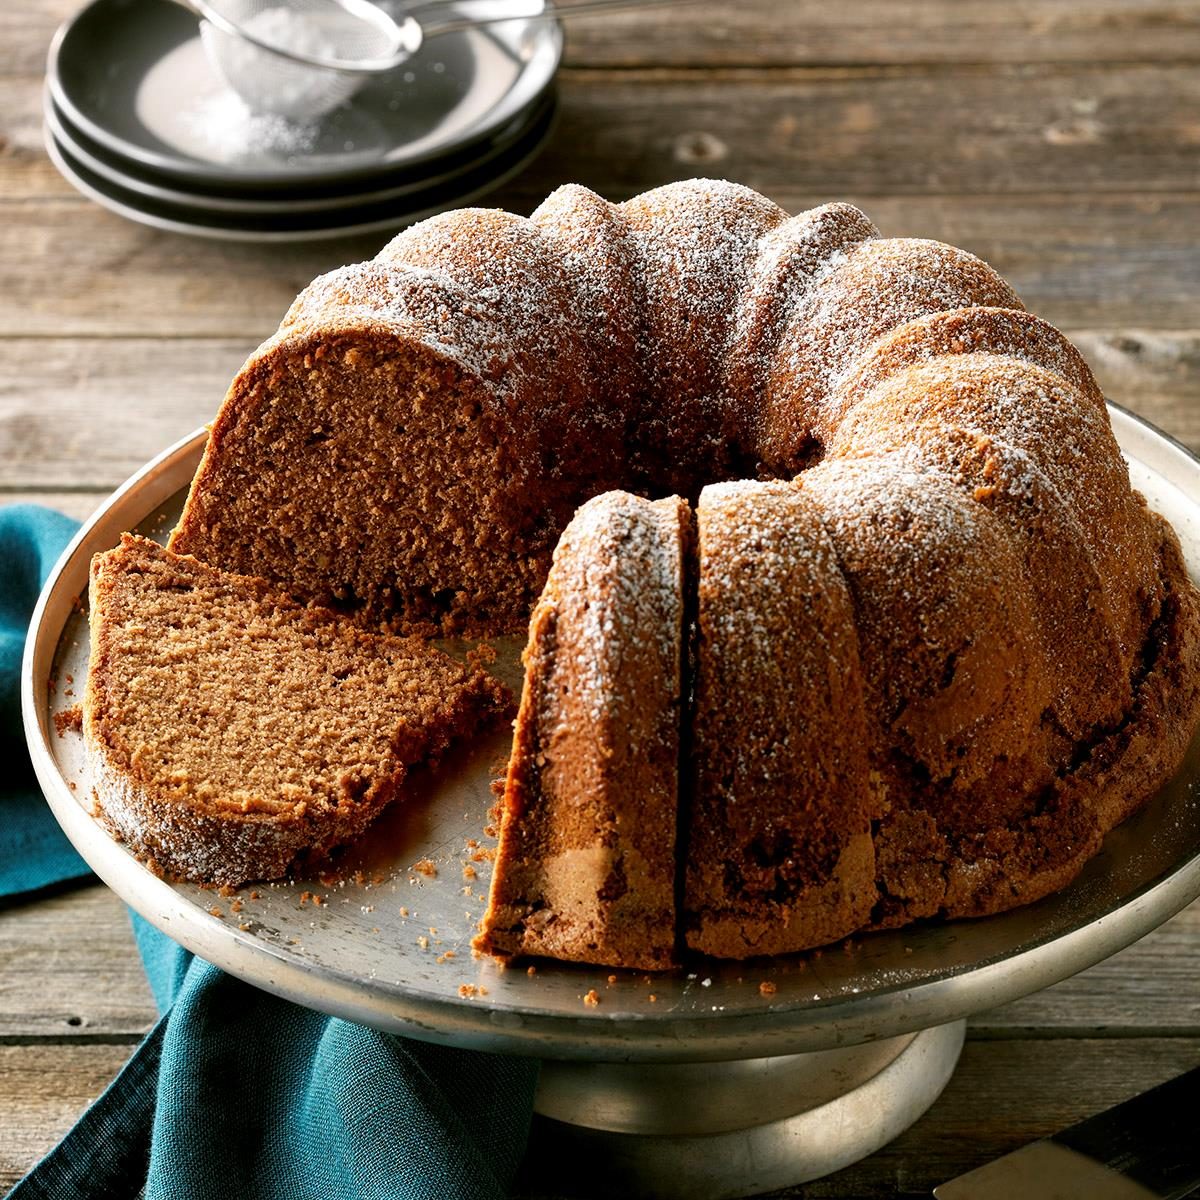
New to baking? Use a simple pan
Some of our favorite Bundt pans are elaborate ones, like the Nordicware Brilliance or Heritage pans. But pans with all these gorgeous peaks and designs can be more difficult to work with for first-time Bundt bakers.
For beginners, Catherine says, “start with a pan without much design, something curved.” A pan like this Original Bundt pan is a good choice for starters—plus it always looks good. Catherine also adds: “If your grandma or mom gives you a pan that always works for them, use it!” Moms always know best.

Prevent a domed bottom
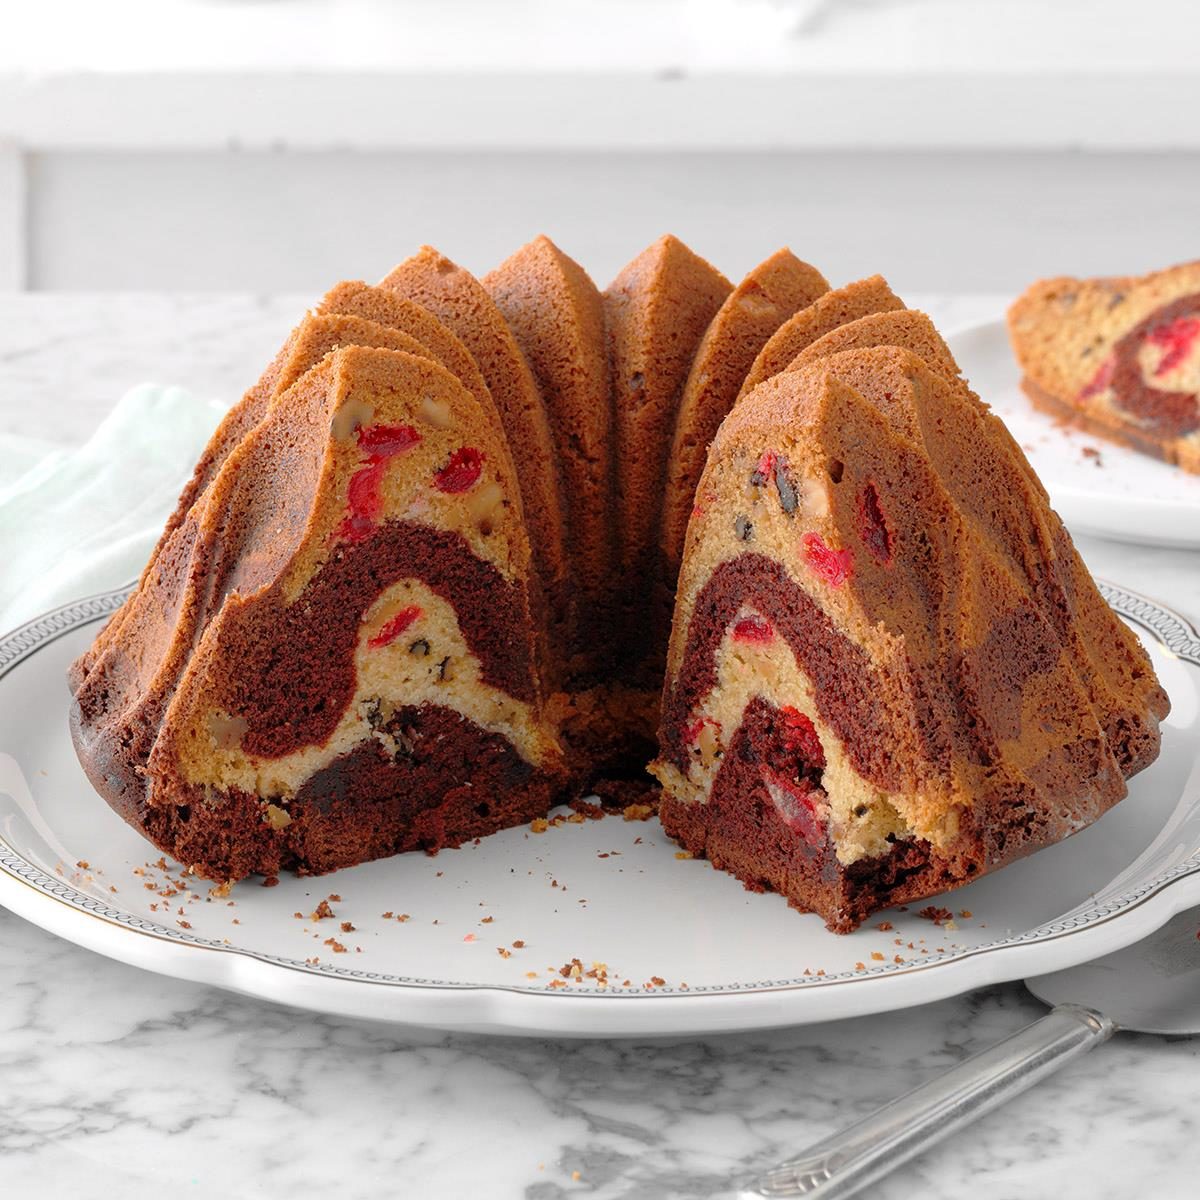
Often times Bundt cakes bake up with a bit of a domed bottom. That’s OK—most cakes do! Catherine says that one way to prevent that and to create a more level bottom for your cake is to use a spoon to create a bit of a trench in the center of the ring. You can also tip the pan so the batter goes up the sides a bit more. It’s just a little extra technique you can use so your cake sits flat on a pretty cake stand.
Be patient
Because pound cake and Bundt cake batters are so dense and the pans are so large, these cakes do take longer to bake than most—usually around an hour. Be patient as your cake bakes. All the time is worth it.
To make sure your cake is done inside, do a toothpick test. Stick a toothpick or thin wooden skewer into the center of the cake. If it comes out clean, the cake is done. If it comes out sticky or covered in batter, let it bake some more.
Cool (a bit) before flipping
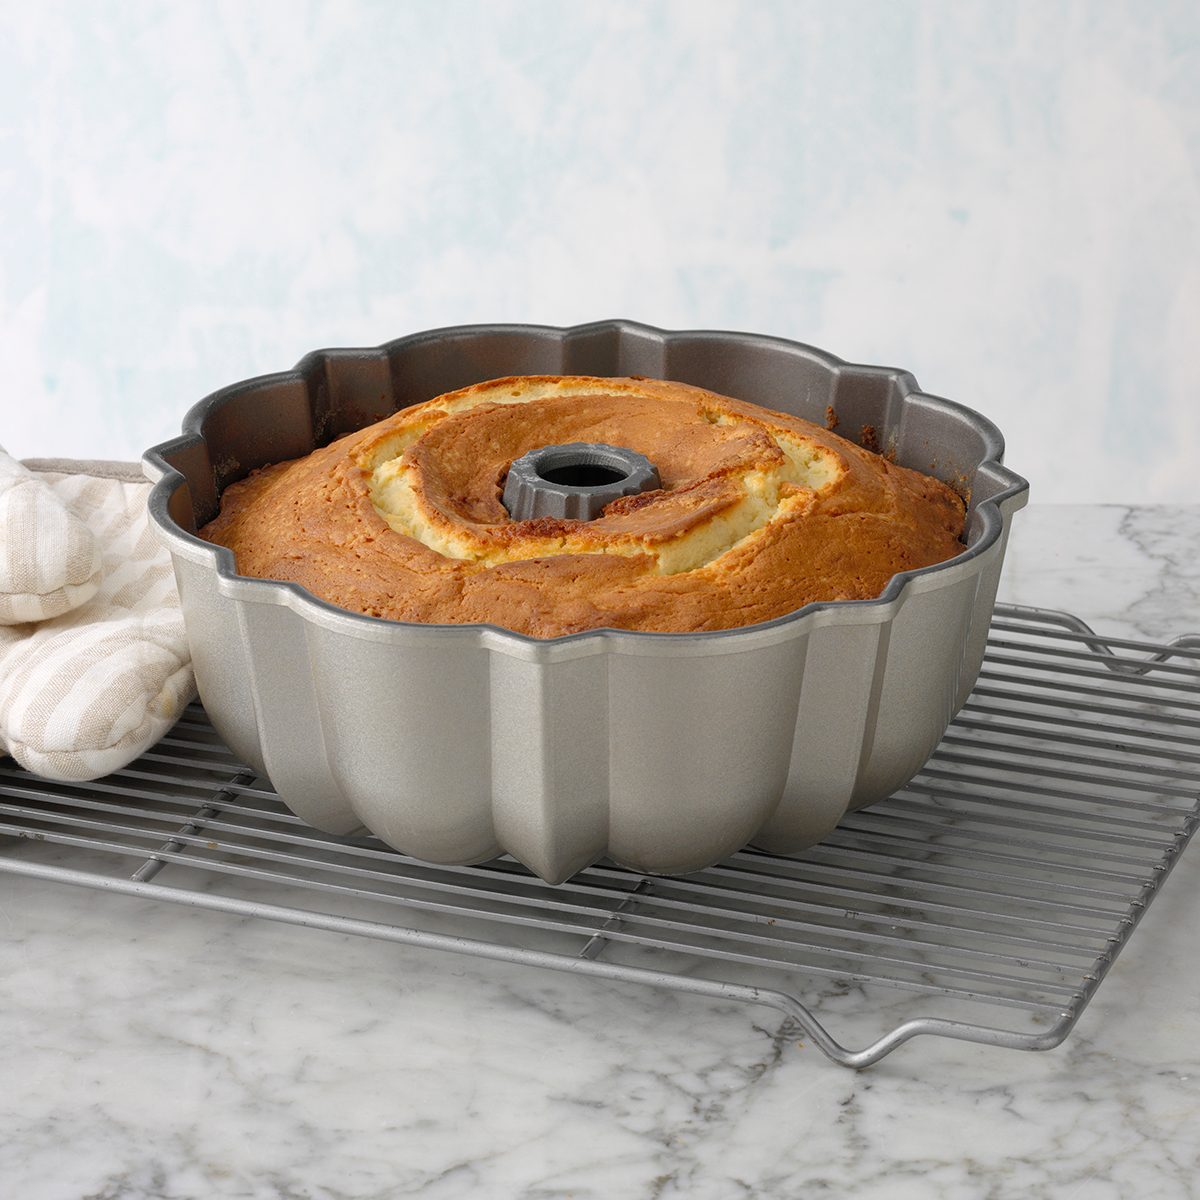
When the cake comes out of the oven, don’t tip it out of the pan right away. Instead, let it cool on a wire rack for ten minutes before inverting.

Give the pan a bang
If you invert the pan and find that the cake isn’t popping out, don’t worry yet! Instead, Catherine recommends laying a towel on the countertop and giving the edges a gentle bang to loosen the cake.

Let gravity do its work
Catherine assured me that the cake doesn’t need to drop out of the pan instantly for it to be a success. If the cake doesn’t pop out right away or after you’ve given it a few thunks, just let it sit inverted on a cooling rack for a bit. Check on it again after 10 to 15 minutes.
Fix small flubs
If you turn your cake out of the pan and a small section sticks, you can patch it. Catherine recommends doing this right away and letting the heat of the cake bind it back together. This will only work for small mistakes, but it’s a good trick.
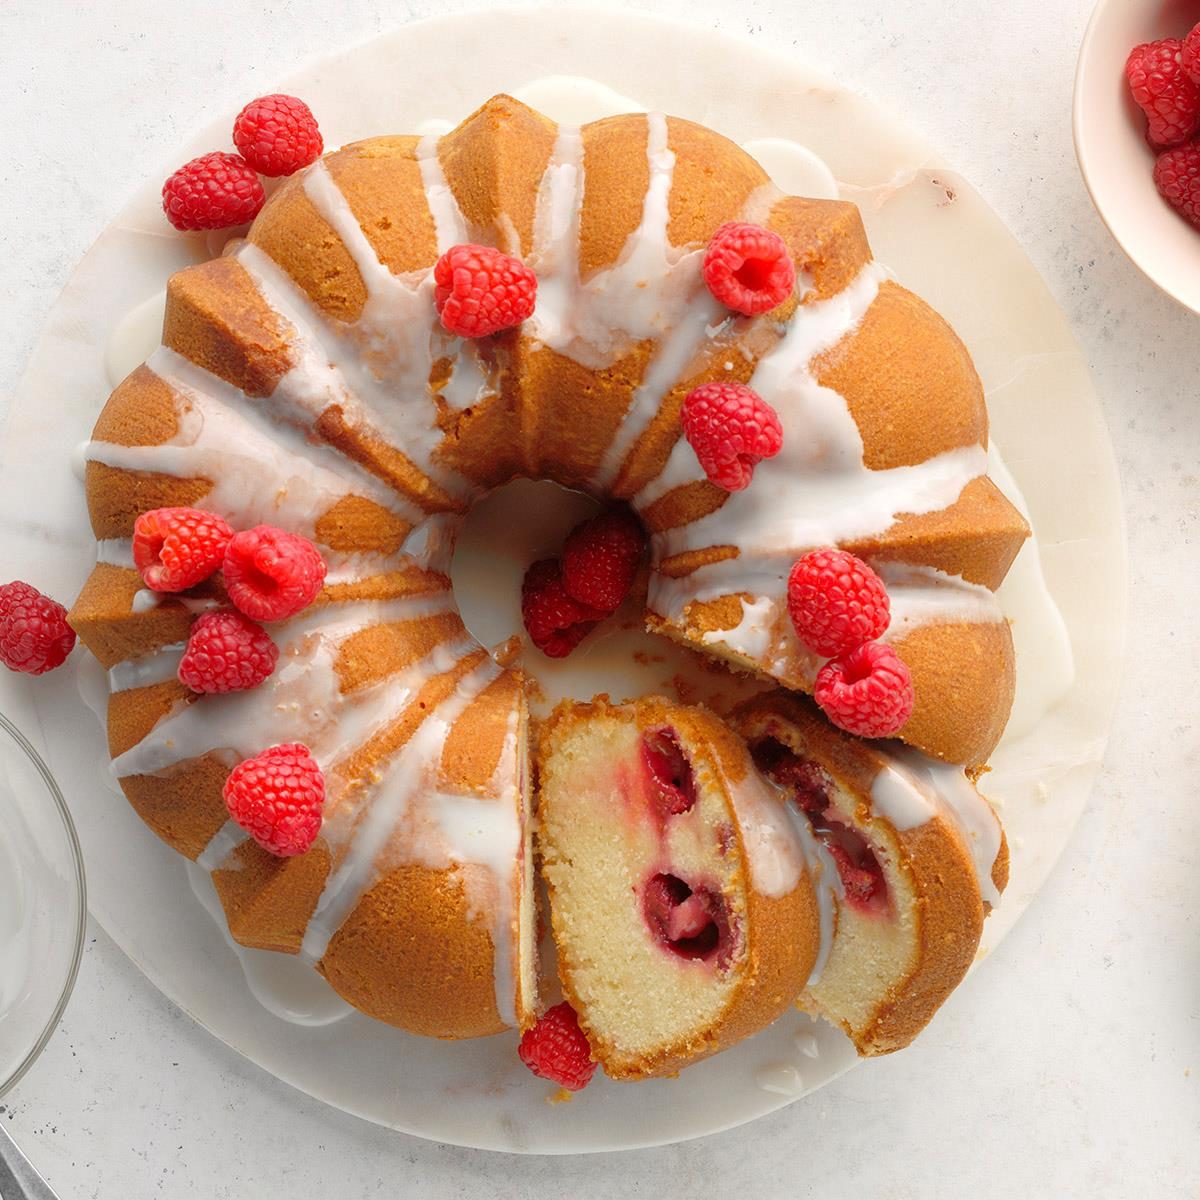
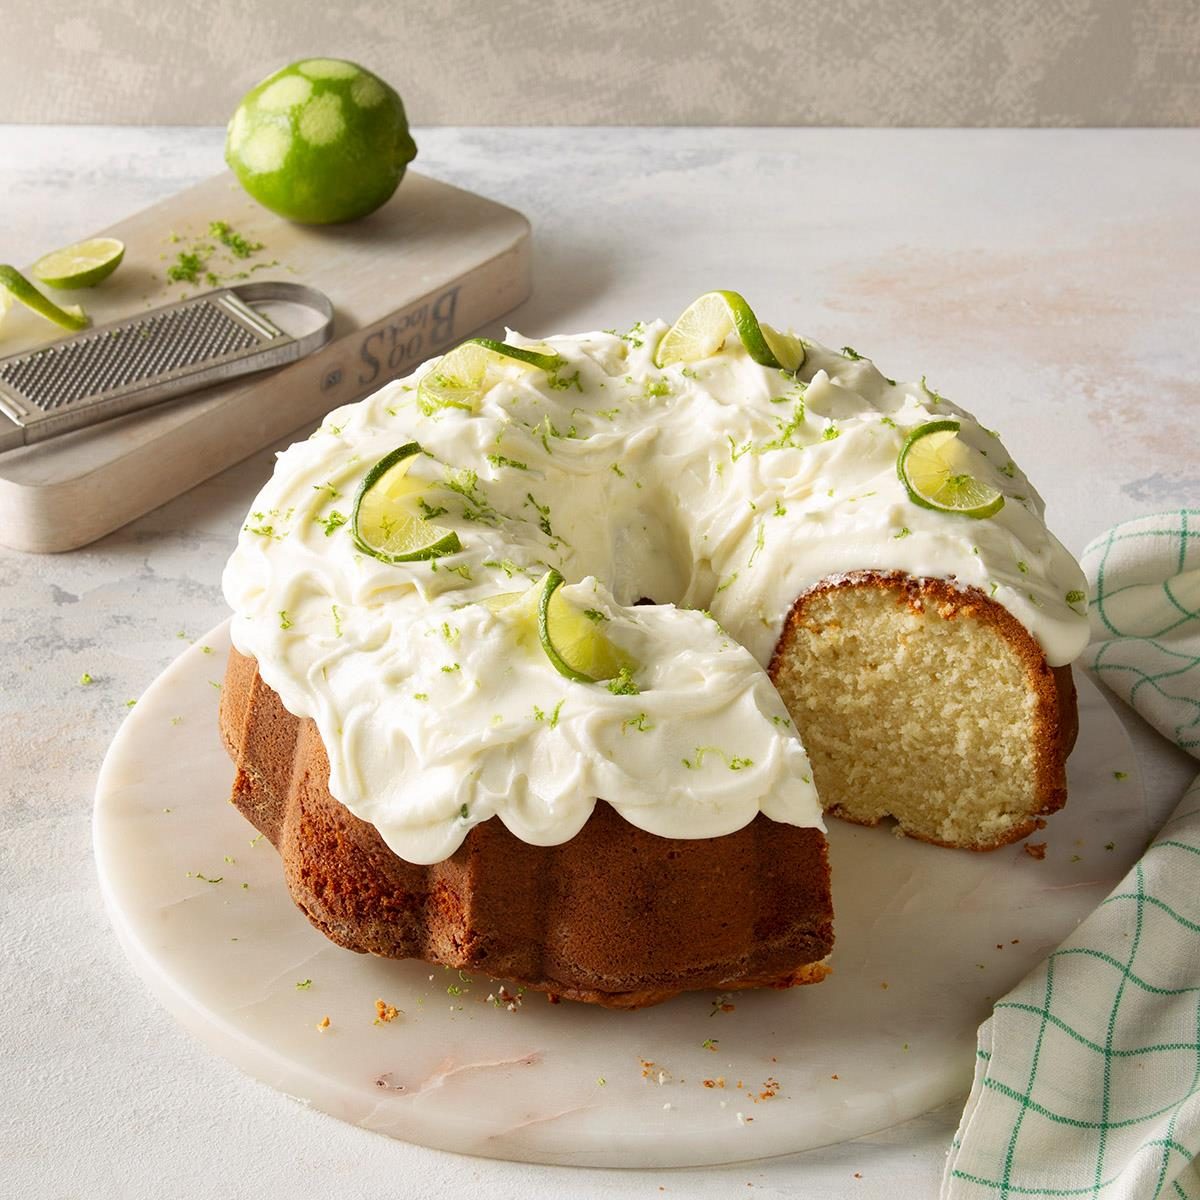
And if you’re making a recipe that uses frosting, like this key lime pound cake, you don’t need to stress. Frosting can cover a multitude of mistakes
Cool the cake entirely before glazing
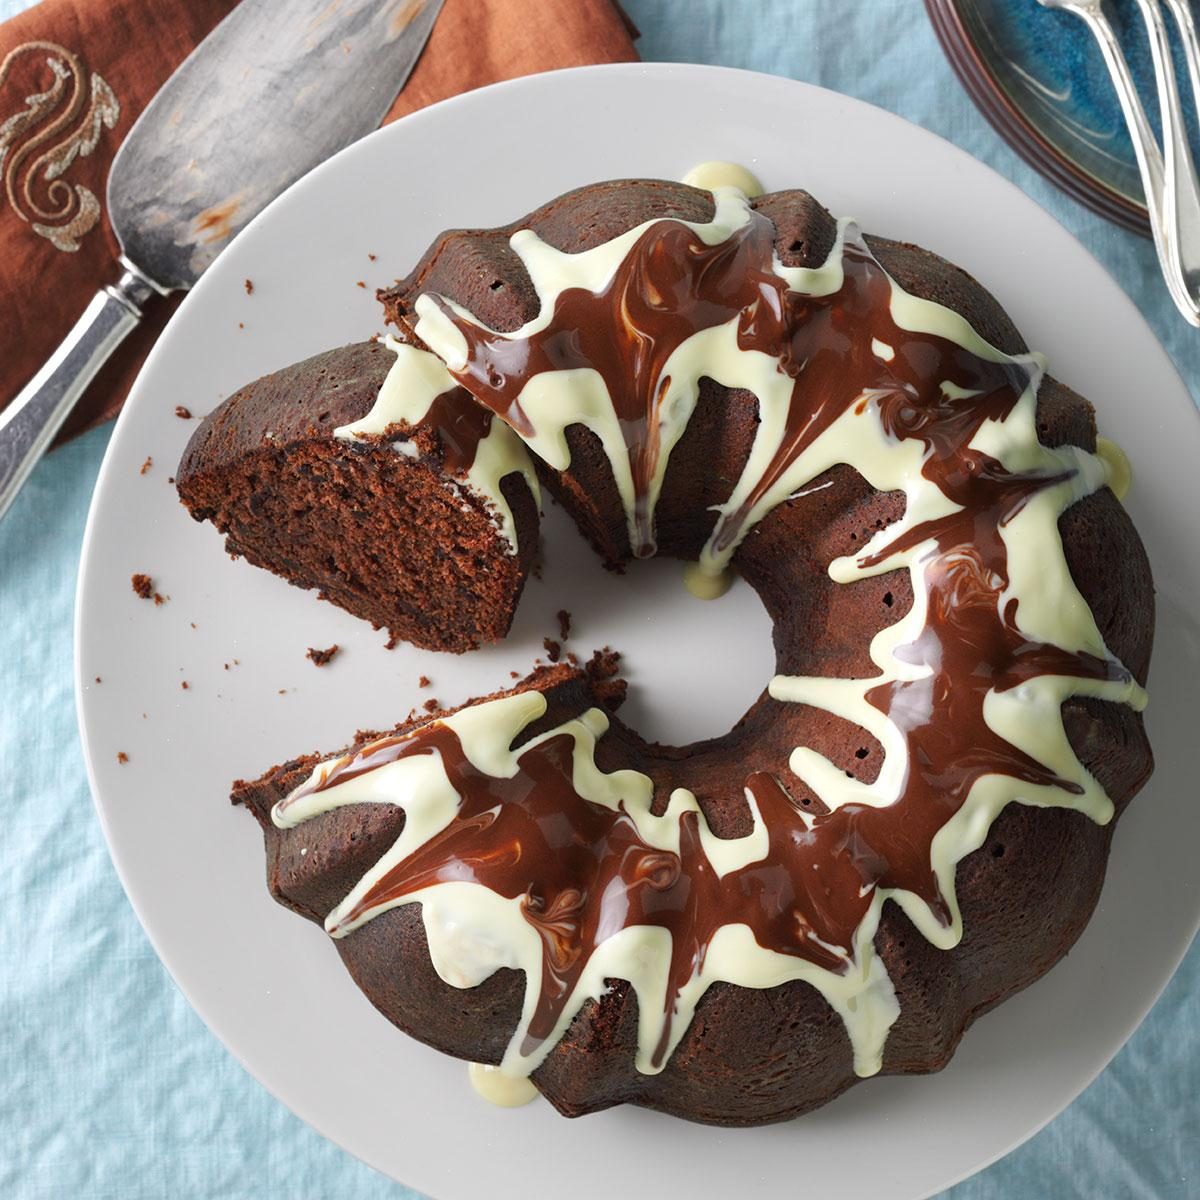
After a long stay in the oven, it can be tempting to want to frost or glaze your cake right away. Catherine says to hold your horses. “You need to cool the cake before glazing,” she says. If the cake is still warm, “it will soak up all the glaze and can make your cake soggy.”
Instead, let the cake cool all the way and then finish it off. You can bake a cake like this a day or two in advance and then glaze the day you’re going to eat it.
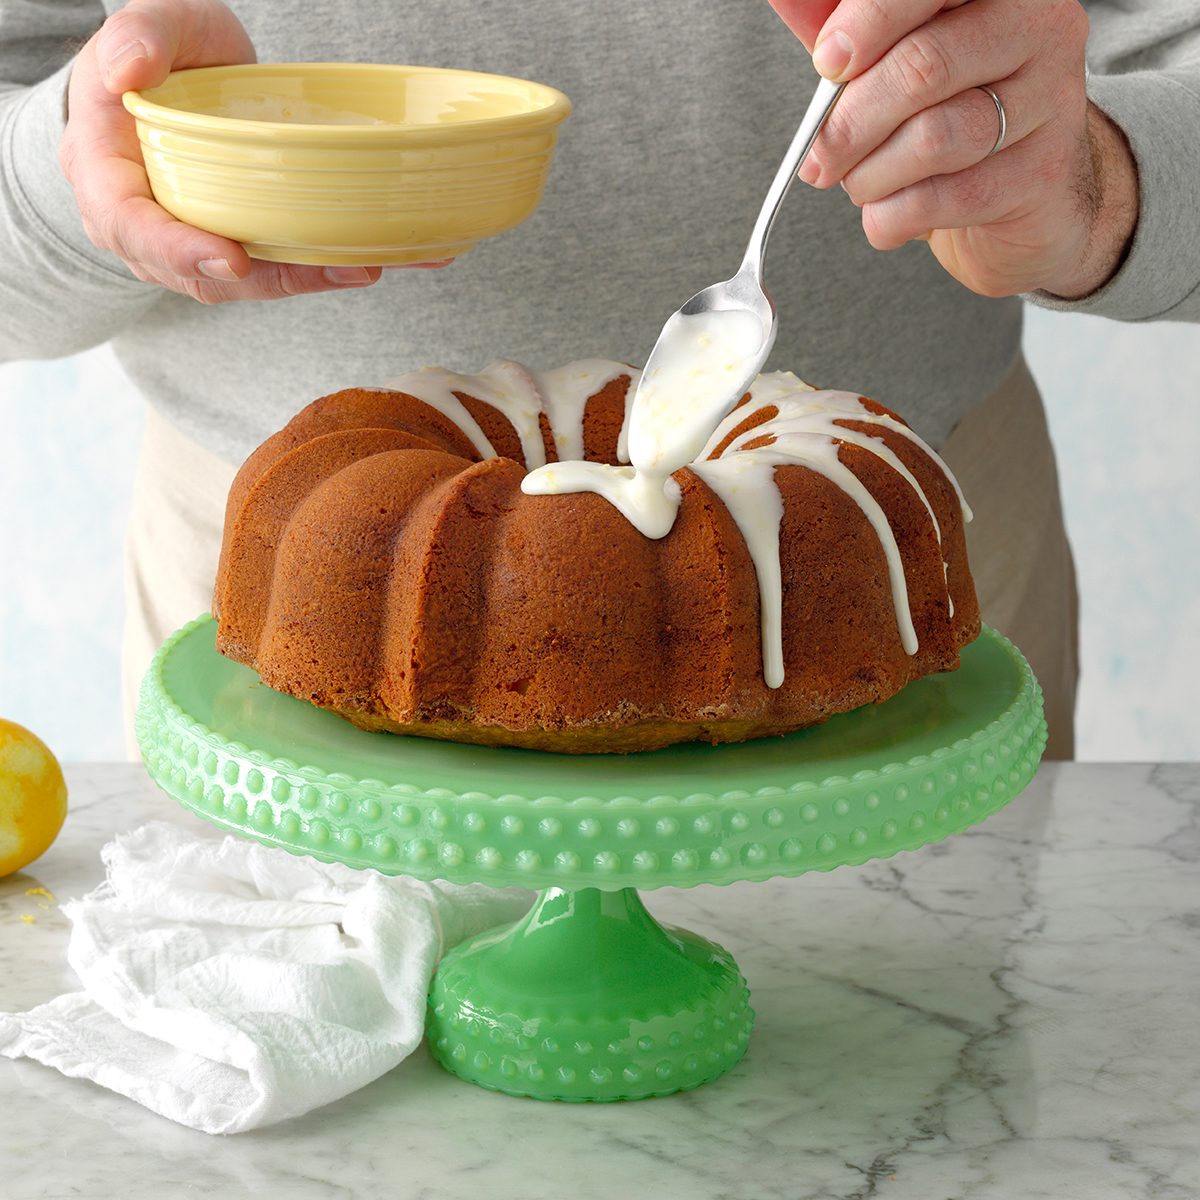
Show off a bit!
“If you really want to impress your guests, glaze the cake in front of them,” Catherine suggests. Since you have to wait until the cake is totally cooled to add any finishing touches, you may as well give your guests a bit of a show. Plus, these small acts can really make a dinner party or celebration memorable.
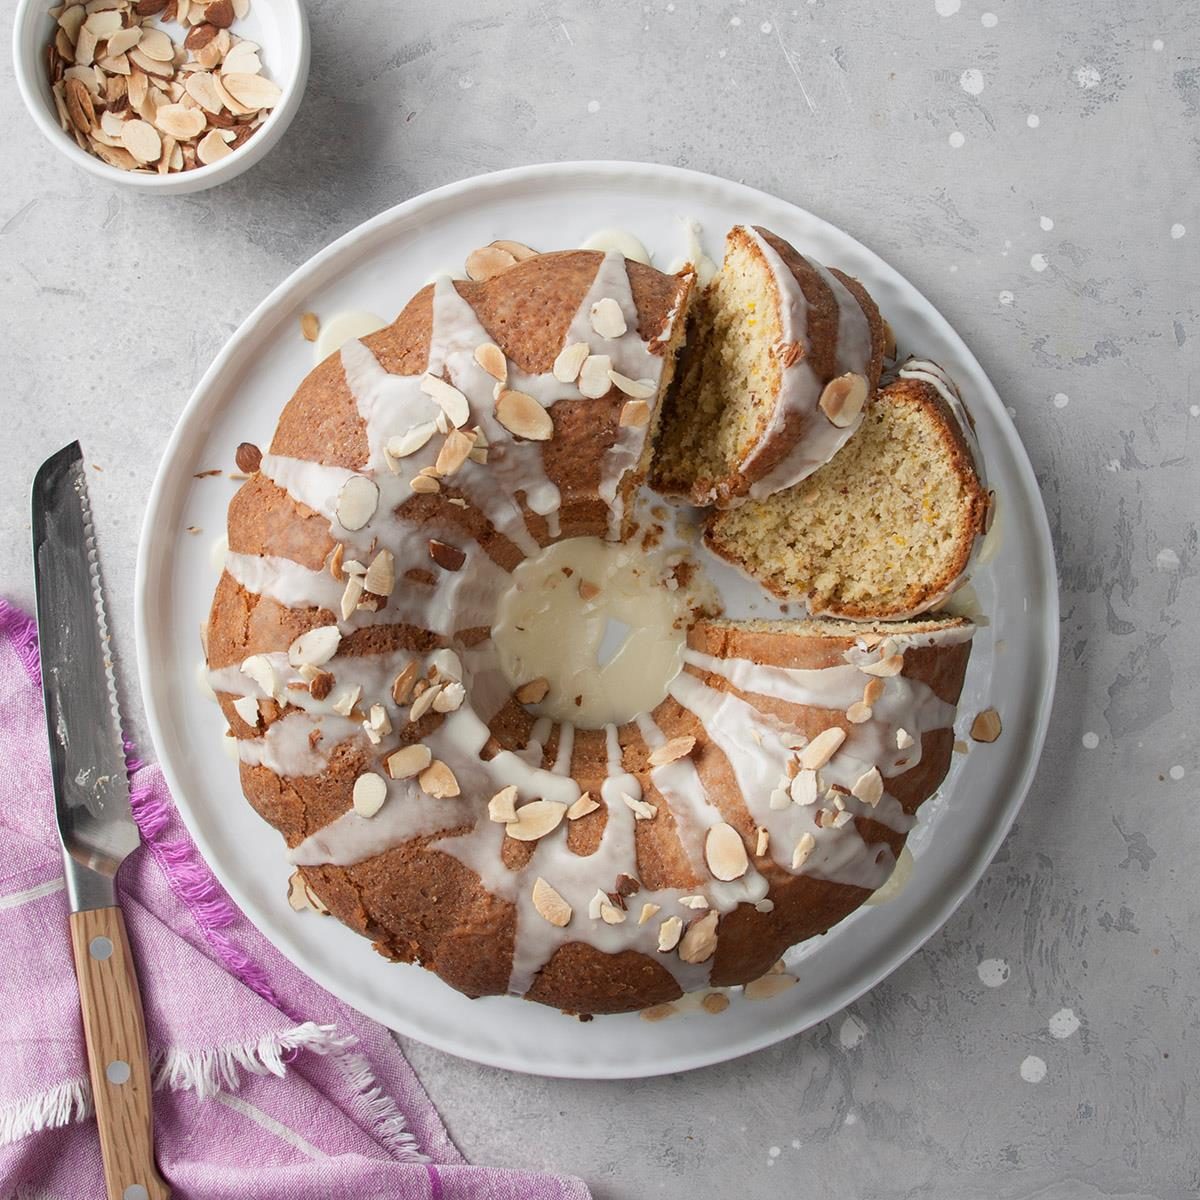
“Just say, this is the way you always do it,” Catherine says with a smile. And what is Catherine baking for her guests? She recommends this Lemon Lover’s Pound Cake.
Wash the pan by hand
With all the nooks and crannies in a Bundt pan, it can be tempting to toss it in the dishwasher. Don’t do it! Catherine says that the best way to preserve the nonstick coating in your pan is to wash it by hand.
If you’ve got a pan with a lot of sharp corners, it can be hard to wash out all the crumbs stuck inside. You can scrub them away with a soft toothbrush (obviously one you’ve set aside just for this purpose) or even a specialty Bundt pan brush.

Don’t sweat it if it doesn’t come out
Sometimes, despite all your hard work and careful greasing of the pan, a Bundt cake just doesn’t come out clean. But please don’t panic! “If it’s a total fail, turn it into a delicious trifle,” Catherine says.
Trifles also make gorgeous, delicious desserts. Your guests will be just as pleased with one of these treats layered with cake, cream and fruit.
The post 15 Tips for the Best Bundt Cakes Straight from Our Test Kitchen appeared first on Taste of Home.
Lisa Kaminski