There’s something magical about counting down to Christmas by opening the doors of your Advent calendar day by day. (Bonus points if you open the calendar while enjoying a Christmas cookie.)
You can buy all kinds of fun Advent calendars but we love the idea of crafting one at home. This DIY Advent calendar is easy to make with basic crafting supplies, can be filled with candy or the surprise of your choice and is endlessly reusable.
How to Make a DIY Advent Calendar
You’ll need:
- 24-muffin metal muffin tin
- Circle punch
- Scrapbook paper in a few festive patterns
- Double-sided tape
- Glitter glue
- Adhesive scrapbook numbers (you’ll need to make 1-24)
- Craft glue
- 24 small magnets
- 24 buttons
- Decorative items, like ribbons and stickers
- 24 small items to conceal, like candy, small toys and trinkets
Use the rest of your scrapbook paper to make a holiday memory book like this.
1. Make the compartment coverings
Cut out 24 circles of scrapbook paper large enough to completely cover the openings in the muffin tin. Cut 24 smaller circles in another paper pattern (we love to use complementary colors and patterns). Using double-sided tape, affix the smaller circle to the center of the larger circles.
Psst: Do you know our other favorite holiday DIY? Gifts in jars.
2. Add numbers and decorate
Number each circle using the adhesive numbers, from 1 to 24. If needed, secure the numbers with tacky glue.
Add color, glitter and flair by decorating the coverings with glitter glue, Christmas stickers and any other scrapbook decorating supplies.
3. Make magnetic buttons
Use tacky glue to adhere a magnet to the back of each button. Allow the glue to dry. These buttons will hold the circle papers over the muffin tin openings.
4. Prep the tin for hanging
Drill two small holes in the top of the tin. Thread a decorative ribbon through the holes and tie in place.
5. Fill the compartments and hang
Time for the fun part! Fill each muffin cup with a candy, small toy or other surprise. Cover the cups with the papers and hold in place with magnets. Hang the calendar on the wall by the ribbon. Remove one circle each day to reveal the surprise.
Find more family-friendly holiday activities this way.
Next year, the Advent calendar will be all ready to go. Just fill the muffin cups with candy again!
Feeling Crafty? Find 15 More Winter Projects
Stick Reindeer
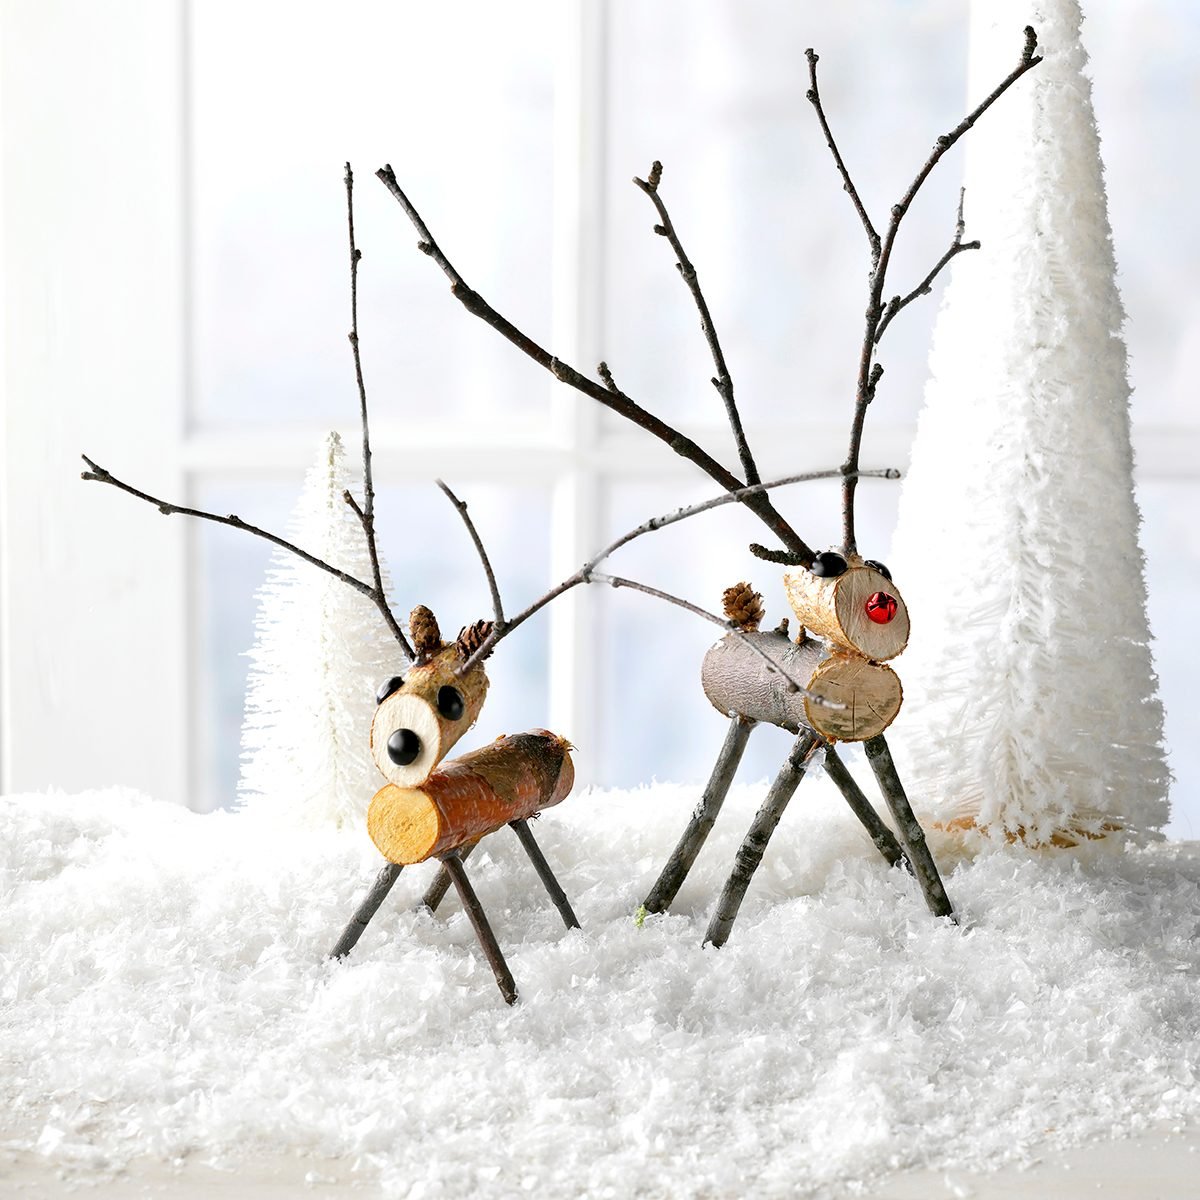
Create a herd of reindeer with supplies you can find in nature. Tiny pieces of wood, twigs and mini pinecones—plus the help of hot glue—form these little deer. As a bonus, the supplies are fun to gather, especially with little ones. Take a trip to the backyard or a local park to look for the necessary pieces.
Enjoy one of these reindeer-inspired treats as you craft!![]()
Citrus Wreath
Winter is the perfect season to celebrate your favorite citrus fruits, and this elegant wreath makes it easy! Use whatever fruits you can find—such as oranges, lemons, clementines and kumquats—and bunches of assorted greens. The end result is a real stunner.
Get the full how-to for making a citrus wreath here.![]()
Edible Cards
It’s common to display a stack of holiday cards, but rarely are these warm wishes edible. Make your own sweet greetings with our recipe for gingerbread cards. A food-safe pen makes them easy to decorate, and they’d look darling threaded onto a garland.
Get the recipe and a full how-to here. ![cute hand made recycled christmas ornaments on a wooden table]()
Bottle Cap Snowmen
Once the adults imbibe in a few beers, the kiddos can help turn bottle caps into adorable snowmen. Secure three bottle caps together with hot glue, then decorate each tier with craft paper, paint, stickers, buttons, glitter and any other supplies you have on hand. Attach a loop of colorful ribbon and hang your snowmen in a spot that could use a little winter cheer.
Too chilly to drink a cold one? Use the beer in one of these yummy recipes instead.![Christmas card crafts]()
Card Coasters
Turn holiday greeting cards into a practical item that will last all season long. To make the card coasters, simply decoupage a wintery cutout onto the tops of plain tiles. Then, hot glue a thin layer of cork to the back of each coaster. This smart craft also makes a great gift!
Use your Christmas cards to make more cute crafts.![teacup display]()
Tea Cup Gardens
Add a little winter magic to your home with these tiny teacup displays. Similar to a fairy garden, these cute cups depict a sweet scene, thanks to miniature houses, real (or faux!) foliage, tiny trees and little figurines. To make, fill an old teacup with pebbles, top with moss or fake snow, then add tiny treasures.
Editor’s Tip: Craft stores (such as Michael’s) oftentimes have entire sections of fairy garden accessories.
You can also find kits online.![Christmas wreath of rosemary on a beautiful brown background, with berries, cones, currants, twigs and leaves around.]()
Rosemary Wreath
Need a decoration that looks AND smells amazing? Reach for a rosemary wreath. This craft can be made by attaching rosemary sprigs and pine boughs to a wreath form, then securing with twine. Intermittent berries and pinecones complete the effortless look.
![Pinecone Trees]()
Pinecone Trees
When sprayed with silver and green paint and adorned with small metal stars, pinecones make a flock of tiny trees! Place each pinecone in a mason jar, votive holder or other small vase, then arrange on a mantel or shelf to create a tiny forest.
![spool wall art]()
Spool Art
Celebrate the season of love by turning old spools of thread into a pretty piece of wall art. You can create any shape you’d like, but we suggest a simple heart. To make, paint a shaped plywood board and let dry. Then, arrange spools of various sizes in a heart shape. Once placed as desired, hot glue each spool and let dry.
Try your hand at these pretty heart-shaped cookies, too.![felt gnomes]()
Winter Elves
Plain craft cones transform into winter gnomes with the help of felt, fur and a few add-ons. To make a gnome, wrap the bottom third of the cone in felt and secure with hot glue. Then, wrap the upper two-thirds in a different color of felt and secure. Add faux fur for the beard and a tiny, flesh-colored button for the nose. Finish the gnome with a small bell attached to the top of the hat.
![costume jewelry crafts]()
Brooch Display
Add a little sparkle to your home this winter by putting costume jewelry on display. When placed in a metallic frame or adorned on a foam craft cone, vintage brooches really shine. If you don’t own a collection, check out thrift stores and estate sales for pretty (yet penny-pinching) pieces.
![rope wreath]()
Rope Wreath
Rustic, simple and oh-so-chic, this rope wreath is here to win winter. Make one by shaping layers of thick rope into a circle and securing with smaller pieces of wrapped rope. Embellish with faux foliage and a burlap flower.
![Pinecone Kissing Ball]()
Pinecone Kissing Ball
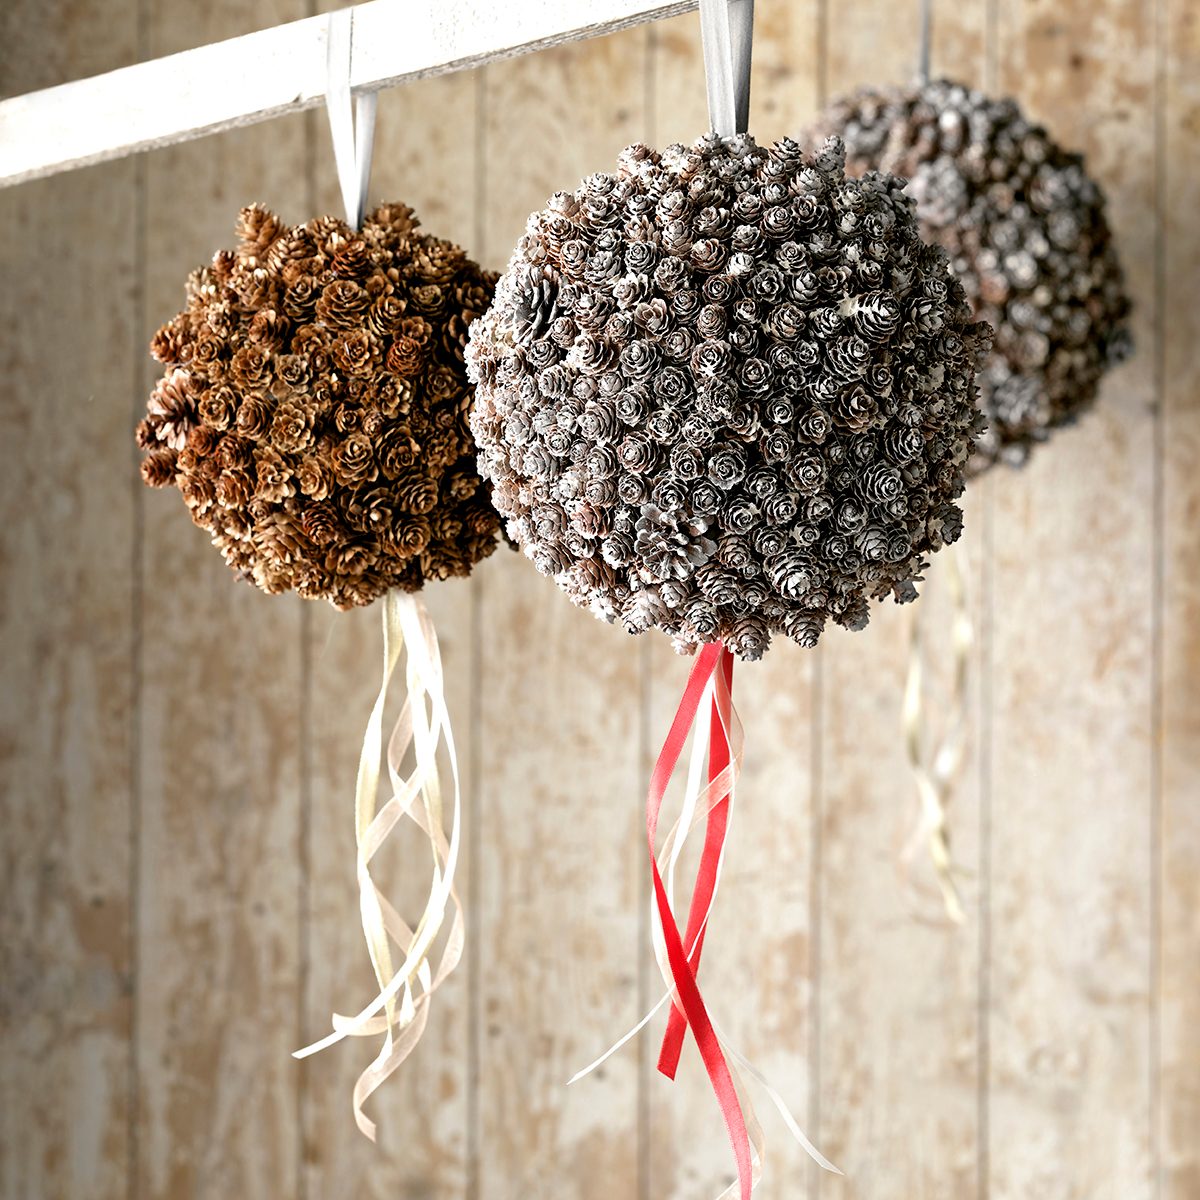
Whether used as decor inside or out, these pretty pine pomanders are eye-catching. Make one by folding a length of ribbon in half and securing to a large,
Styrofoam ball with a thumbtack and hot glue. Repeat on the opposite side of the ball, this time using various lengths of ribbon. Then, adhere pine cones over the entire surface of the ball with hot glue.
Editor’s Tip: Make sure to have a variety of pine cone sizes on hand. Attach the bigger ones first, then fill in the gaps with smaller cones.
![puzzle hearts]()
Puzzle Hearts
If you have a puzzle that’s lost a piece, don’t throw it away! Repurpose the game into this cute craft. Hot glue pieces to a heart-shaped frame, coordinating colors if desired. Add a pretty ribbon and display anywhere that needs a pop of color.
Note: Every product is independently selected by our editors. If you buy something through our links, we may earn an affiliate commission.
The post How to Make a DIY Advent Calendar with a Muffin Tin appeared first on Taste of Home.
Kelsey Rae Dimberg

