Don’t Kill Your Yeast
Be kind to your yeast. Keep the milk between 110° and 115°F. Any cooler and the yeast may not activate properly. Any hotter and you may kill the yeast before it has a chance to help the dough rise. Read more about how to proof yeast the right way.

Use Room-Temperature Ingredients
Yeast likes a warm environment, so using eggs and butter at room temperature will keep the dough at the perfect temperature for optimal yeast activity. Plus, room-temperature butter will also mix easier and more evenly into the dough. Wondering if leaving butter on the counter is safe? The answer is here.

Mix Just Enough
You don’t want a weak cinnamon roll dough. Of course, you don’t want a tough cinnamon roll either! You’ll know the dough is properly mixed when the dough is pulling away from the sides of the mixing bowl and the dough is tacky, but not sticky, to the touch.

Go Easy on the Flour
Too much flour and the rolls will be dry and tough. Not enough flour and the rolls won’t have enough structure to rise and will be dense and soggy. Toward the end of mixing, gradually add a tablespoon at a time and check the texture of the dough after each addition. Learn how to measure flour properly for consistent results.

Let Dough Rise in a Clean, Oiled Bowl
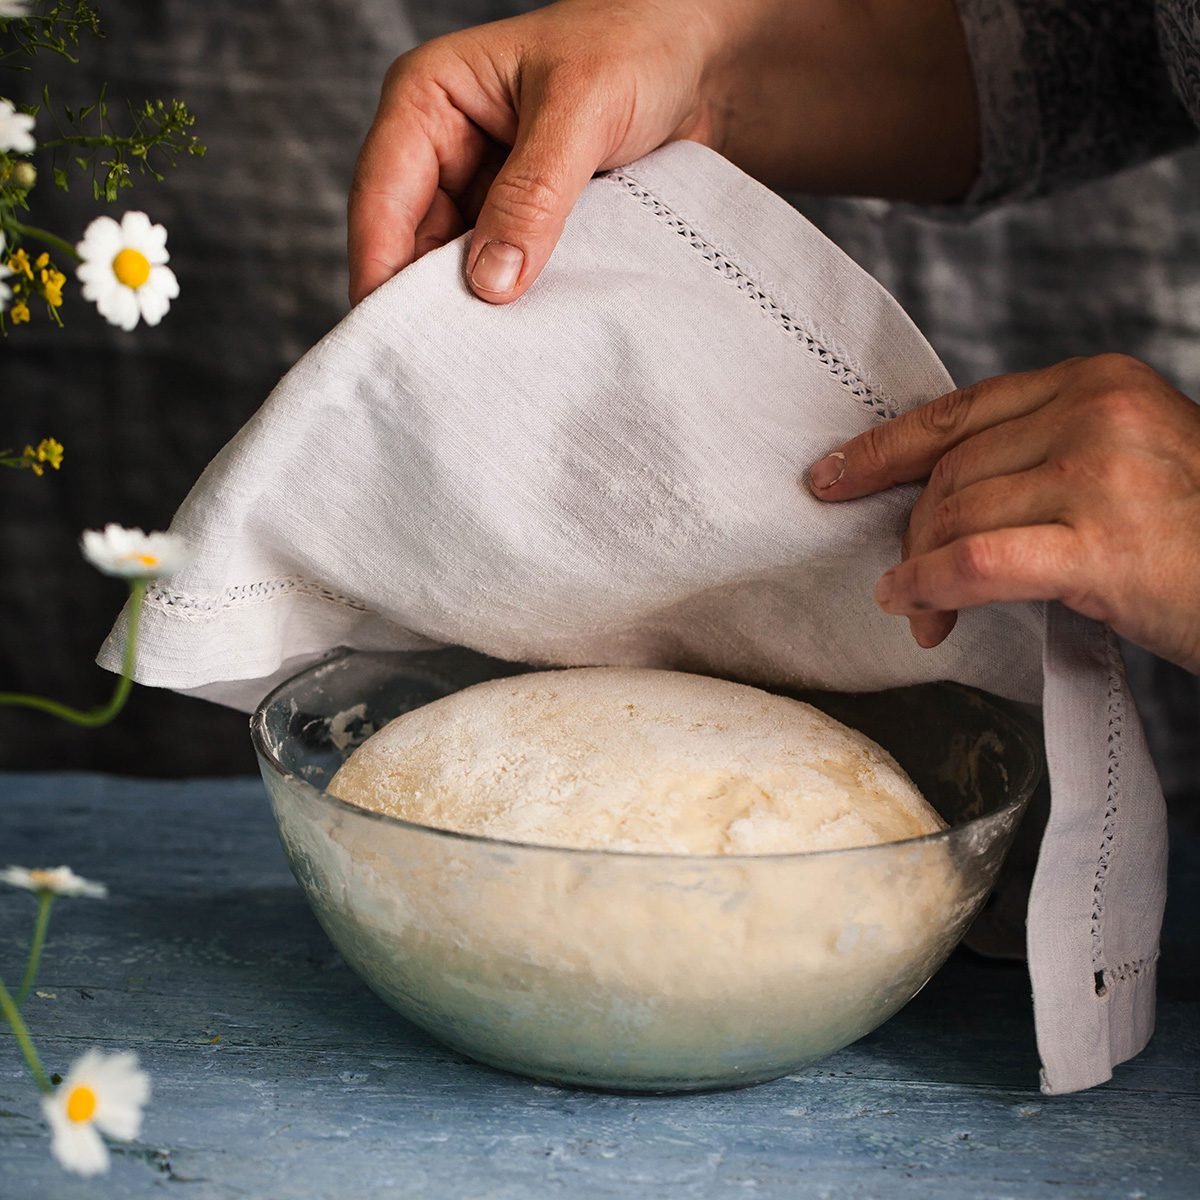
When the dough completes its first rise, take a moment to place the dough in a clean, slightly oiled bowl. This extra step will make the dough easier to remove after proofing and also allow the dough to rise higher since it won’t be working against the bowl.

Use the Ideal Proofing Temperature
When proofing, cover the bowl containing the dough and place in a warm spot in your kitchen. A sunny window or the top of your oven works great. Wherever you place the dough, just make sure its hanging out in a place with a temperature between 75° and 95°F. FYI: This is how to proof when it’s cold out.

Let the Dough Rise Overnight
Another option for proofing cinnamon roll dough is letting it rise overnight in the refrigerator. A cold fermentation process means the yeast releases carbon dioxide more slowly, which results in a more complex, robust flavor. You can try this method with our overnight cinnamon rolls.

Chill Dough Before Shaping
Even if you let the dough rise in a warm place, it’s best to let it chill before shaping. The benefit is that you’ll find the dough much easier to roll out and shape. This means you’ll have tighter, more uniform rolls after baking.

Flour Your Work Surface
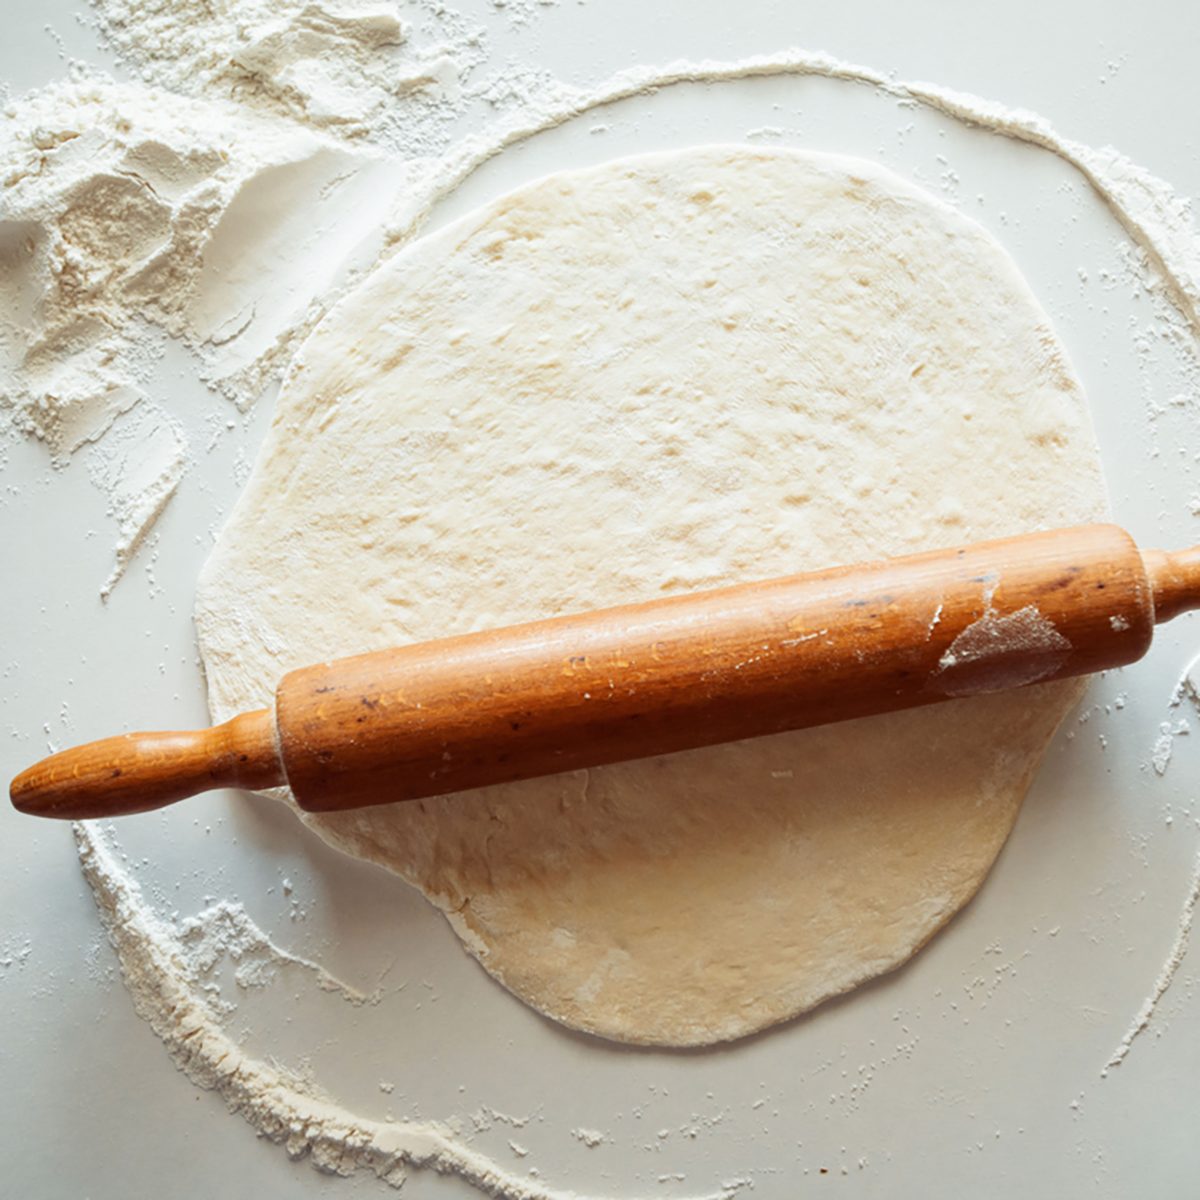
Before you roll out the dough, lightly flour your work surface to prevent sticking. It will save you the frustration of rolling out the dough into a perfect rectangle only to have it stretch, tear and stick to your counter as you roll it up. Watch us put this tip to the test as we make one colossal cinnamon roll!

Roll It to the Perfect Thickness
You may be surprised to hear that a quarter inch is all it takes to make or break your cinnamon rolls. If you’re looking for fluffy, bread-like cinnamon rolls roll out the dough to 3/4-inch thick. If you want gooey, chewy cinnamon rolls, roll out to only 1/4-inch thick.

Use Softened, Not Melted Butter for Filling
You may find the recipes call for melted butter for the cinnamon roll filling. However, using softened, room-temperature butter mixed with the other filling ingredients will enable you to spread the filling more evenly over the dough and result in less waste as you roll up the dough. Here’s how to soften butter quickly.

Fill the Rolls from Edge to Edge
Cover every square inch of the dough with your delicious cinnamon-sugar filling! Just leave a small section along one edge bare so you’re able to easily pinch and seal the seam closed once the dough is rolled.

Roll It Tightly
When rolling the dough, take care to roll it as tightly as possible. This will not only maximize the number of yummy cinnamon layers, but help the rolls hold their shape while baking and when serving. We especially love all the layers in these Can’t Eat Just One Cinnamon Rolls.

Slice Using Floss
Have you been neglecting your knives? An improperly sharpened knife will squish your rolls and ruin the uniformity of the layers. Instead, opt for a piece of dental floss to loop around the dough and cut through the cinnamon rolls.

Give Your Rolls Space
Before baking, the rolls will need to rise a final time. Like teenagers, cinnamon rolls need their space during this critical phase of their development. Place the formed cinnamon rolls on a baking sheet 1-2 inches apart to ensure an even, full rise.

Set the Oven to a Proper Baking Temperature
When it comes to baking cinnamon rolls, 375°F is the sweet spot. Because it’s an enriched dough, an oven temperature that’s too hot can cause the rolls to brown too quickly before they’re fully baked. On the other hand, an oven temperature that’s too low may cause the rolls come out too blonde.
Ever wonder why most recipes call for a 350°F baking temperature? We have the scientific answer.

Don’t Overbake
The perfect cinnamon roll is a deep golden brown with an internal temperature between 190° and 200°F. When pressed gently in the center, the cinnamon rolls should also feel firm, not squishy. Just another reason you need a digital thermometer! See what brand our Test Kitchen recommends.

Let Rolls Cool Before Icing
Let the rolls cool for 5 to 10 minutes before icing. If the rolls are too hot, the icing will tragically ooze right off and into the bottom of the pan. A warm roll, however, will let the icing easily spread over the top and also set in place before serving. Try out this perfect cream cheese frosting on your freshly baked cinnamon rolls.

Make a Double Batch
No, this tip isn’t a joke. We’re 100% serious! Consider making a double batch the next time you bake tasty cinnamon rolls. Most dough freezes well once rolled and sliced, meaning it’s possible to have cinnamon rolls on demand any time. We recommend doubling up on a batch of these Apple-Pecan Cinnamon Rolls.
The post 19 Tips for Making the Ultimate Cinnamon Rolls appeared first on Taste of Home.
Lauren Habermehl