I’ll be the first to admit that I’m not the best cookie decorator. Despite watching hundreds of cookie decorating videos online (like these gorgeous globe cookies from Taste of Home) the ability to work icing into an avocado or mini succulent has remained a very distant dream.
Fortunately, Taste of Home’s Senior Food Stylist, Shannon Norris, cued me in on her decorating secret: Cookie letter stamps!
Perfect for a birthday party or holiday, these plastic letter stamps let you string together any name, word or phrase and stamp it directly into the cookie dough. That means no more messy cookie decorating sessions filled with sticky royal icing and endless runaway sprinkles. It’s also a great way to get novice bakers, like your kids, in on the decorating game.
Keep reading to get Shannon’s super easy step-by-step instructions for stamped message cookies.
At least I’m not the only one: Here are 9 mistakes almost everyone makes with royal icing (plus how to fix them).
How to Make Stamped Message Cookies
What You’ll Need
Step 1: Prep your cookie dough
To start, mix up a batch of your favorite cookie dough. Shannon’s go-to is a simple butter cookie, like this recipe, but feel free to use any cookie dough you’d like. The stamps’ indents hold up best in study cookie doughs that don’t have leavening agents in them, so double check that the dough you’ve chosen won’t rise too much.
Once your cookie dough of choice is mixed, pop it in your refrigerator and let the dough cool for 30 minutes to an hour. This will make the dough easier to work with and hold it’s shape better.
Editor’s tip: Here are the top 10 secrets for getting the best cutout cookies you’ve ever made.
Step 2: Roll and cut
Preheat your oven to the cookie dough’s direction.
Remove your cookie dough from the fridge and place it between two sheets of parchment paper. Lightly flour the dough to prevent it from sticking to the parchment paper. Then, roll out your dough until it’s a ¼-inch in thickness. If you have a hard time getting consistent thickness when rolling your cookie dough, check out this ¼-inch rolling pin ($21). The indented center makes sure you won’t roll thinner than a ¼-inch, so you can roll along with confidence.
Once rolled, remove the top layer of parchment paper and cut the cookie dough with your preferred cookie cutter shapes. You can go with a standard square or circle, or play to a holiday with a present, stocking or sweater. It’s up to you!
Editor’s tip: If your cookie dough has warmed and you’re having a hard time transferring the cookies to the baking sheet, try using a metal spatula, like this one from Sabatier ($13).
Step 3: Get stampin’
Transfer the cut cookies to a baking sheet and gently brush off any excess flour with a pastry brush. The flour won’t dissipate as the cookies bake, so get as much off as you can.
Now it’s time to stamp! Shannon uses a set of numbers, letters and symbols from Dough Cuts that are threaded onto a handle to form a word, name or phrase. For this set, and most other available online, you’ll want to put the letters in reverse order, so when it’s pressed into the dough the letters are correct. You can always test on a piece of scrap dough first, to make sure the letters are in the right order.
Once you have your stamp put together, gently push it into your uncooked cookie. You’ll want it to push far enough into the dough that the letters make an indentation, but not so much that the handle pushes into the dough, too. Then, gently pull the stamp straight up and out of the dough. Pulling the stamp out on an angle can cause the stamped word to smudge a bit.
Editor’s tip: If you’re doing multiple batches of cookies, you might want to put your cookie dough back in the fridge while you’re stamping. This will help the cookies retain their shape and keep the letters legible.
Step 3: Bake
When all of your cookies are stamped, pop them into the oven and bake them according to the dough’s direction. Once done, remove the cookies from the oven and allow them to cool completely.
Step 4: Enjoy!
You’re all done. Package up your cookies and give them as a birthday, housewarming or holiday gift.
If you can’t stay away from the frosting and sprinkles, feel free to add some additional decoration along the edges of the cookies. Allow any royal icing to dry completely before packing them up, and wrap frosted cookies on a platter rather than packaging them up.
Fill Your Cookie Jar With These Cookie Recipes
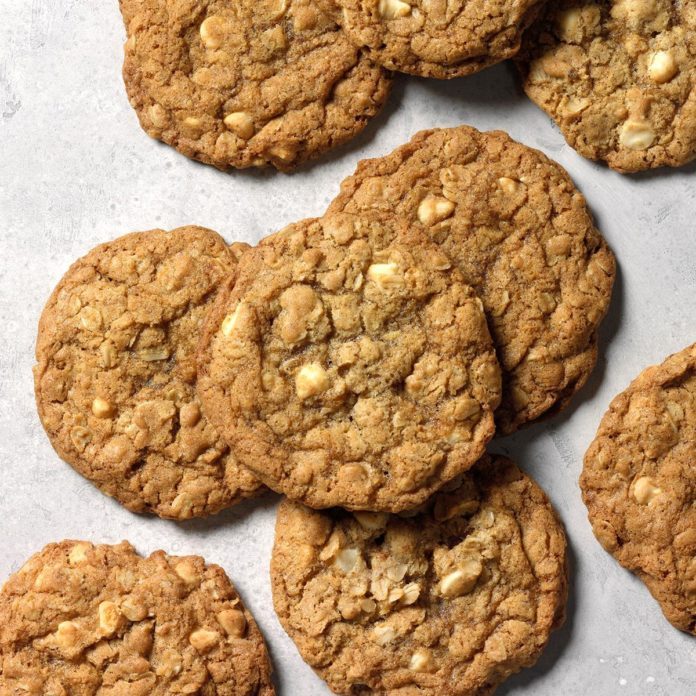
When my two daughters were young, their great-grandma made them coconut cookies with oats. Thankfully, she shared the recipe. —Debra Dorn, Homosassa, Florida
Get Recipe
My mother insisted that my grandmother write down one recipe for her when she got married in 1942. She needed to know this how to make peanut butter cookies from scratch recipe. That was a real effort because Grandma was a traditional pioneer-type cook who used "a little of this or that 'til it feels right." This treasured recipe is the only one she ever wrote down! —Janet Hall, Clinton, Wisconsin
Get Recipe
My grandma kept two cookie jars in her pantry. One of the jars, which I now have, always had these crisp and chewy gingersnaps in it. They're still my favorite cookie recipe. My daughter, Becky, used this recipe for a 4-H fair and won a blue ribbon. —Deb Handy, Pomona, Kansas
Get Recipe
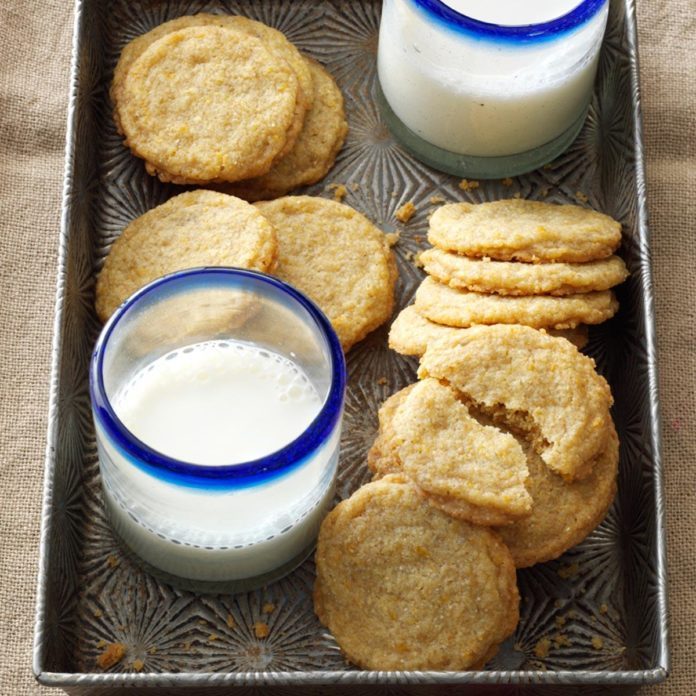
At least two generations of my family have enjoyed the recipe for these delicate orange-flavored cookies. —Sheri DeBolt, Huntington, Indiana
Get Recipe
My grandmother always had sugar cookies in her pantry, and we grandchildren would empty that big jar quickly because they were the best! I now regularly bake these wonderful cookies to share with friends. —Evelyn Poteet, Hancock, Maryland
Get Recipe
Not only is this recipe a favorite of my husband's, it's extra special to me because it goes back to my great-grandmother. For holidays, we like to sprinkle on colored sugar for a festive touch. —Mary Ann Konechne, Kimball, South Dakota
Get Recipe
My grandma loved these so much, she would hide them from my grandpa! I think of her every time I make a batch. Like Mexican spice? Try stirring in a little chili powder. —Michele Lovio, Thousand Oaks, California
Get Recipe
This recipe has been handed down through many generations of my husband's family. The cookies were always in his grandmother's cookie jar when he'd visit. Today, he enjoys them more than ever—and so I do. —Debbie Hurlbert, Howard, Ohio
Get Recipe
Decades ago my grandmother passed this buttery lime cookie recipe to me. Through years of baking, our cookie memories keep the family connected, although we’re miles apart. —Paula Marchesi, Lenhartsville, Pennsylvania
Get Recipe
I remember sitting on my great-grandmother's couch with a pad and pen in hand as she told me each ingredient and measurement for her special rugelach. Her recipe stands apart because it's a fun twist from typical versions. —Dalya Rubin, Boca Raton, Florida
Get Recipe
This simple yet satisfying coconut cookie recipe has been around for generations. Pressing a fork into the top gives the look of an old-fashioned washboard. —Tommie Sue Shaw, McAlester, Oklahoma
Get Recipe
My husband's grandmother made a variety of cookies every year for her grandkids at Christmastime. She would box them up and give each child his or her own box. This crisp, orange flavored cookie is one of my favorites from her collection.—Heather McKillip, Aurora, Illinois
Get Recipe
Back in the '30s, my grandmother found this recipe on a cereal box. For moist, flavorful oatmeal cookies, these can't be beat! They make a tasty snack that's convenient to take along on family outings. —Diane Maughan, Cedar City, Utah
Get Recipe
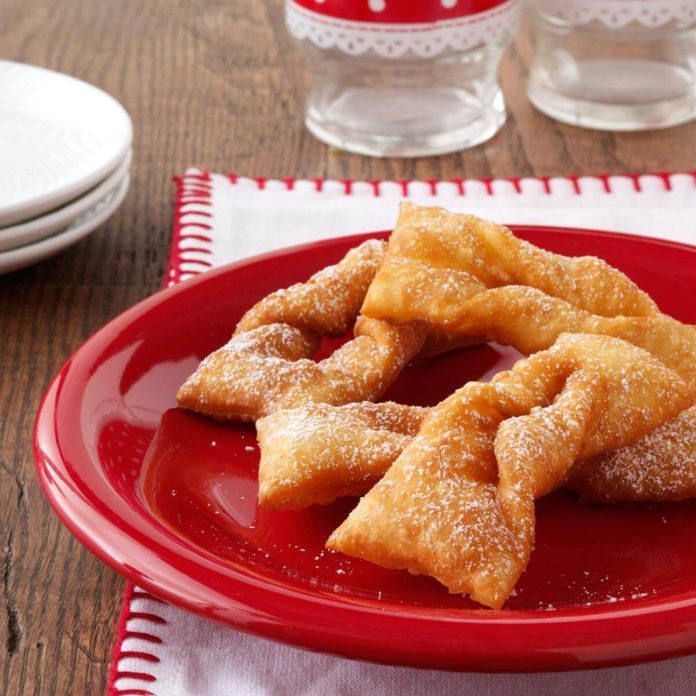
This traditional khruchiki recipe has been handed down through my mother's side from my great-grandmother. As a child, it was my job to loop the end of each cookie through its hole. —Sherine Elise Gilmour, Brooklyn, New York
Get Recipe
My family has made these classic Italian cookies for generations, and this homemade version is so much better than the bakery version. They are always a special treat during the holidays or any time of year!—Cindy Casazza, Hopewell, New Jersey
Get Recipe
This cookie recipe from my 91-year-old grandmother was my grandfather's favorite. She still makes them and sends us home with the dough so that we can make more whenever we want, I love to make a fresh batch when company drops in. —Chris Paulsen, Glendale, Arizona
Get Recipe
My husband's grandma would only make these butter cutouts with a star cookie cutter. I use various shapes for celebrations throughout the year. —Jenny Brown, West Lafayette, Indiana
Get Recipe
My family has been making these delicate fruit-filled Christmas cookies for generations. Light and flaky, they have the look of elegant pastry.
Get Recipe
My grandmother always made these cookies for the holidays. The recipe has been passed down through generations to me, and now from me to you. — Robert Logan, Clayton, California
Get Recipe
My grandmother gave me a cookbook stuffed with recipes. This is a slight twist on one of the first—and best—recipes I made from the book. It's best to store these in the refrigerator. —Mary Murphy, Evansville, Indiana
Get Recipe
My dad loved ginger cookies. I've tinkered with the recipe my grandma handed down by using fresh, ground and crystallized ginger for more pizzazz. —Trisha Kruse, Eagle, Idaho
Get Recipe
This recipe came from my mom's Grandma Alice, who taught her how to bake. Grandma Alice always had a fresh plate of warm cookies on her counter. I learned some of her recipes by heart as a child. This one in particular tastes like Christmas. I've been making these since high school! —Kristin Bowers, Rancho Palos Verdes, California
Get Recipe
These sprinkle cookies take some time, but, believe me, they are well worth it! My husband and I used to operate an Italian-American restaurant, and this recipe goes back generations. —Gloria Cracchiolo, Newburgh, New York
Get Recipe
I'm the fourth generation of cooks in my family to bake these cookies. When my grandmother sent me a batch for my birthday one year, I asked her for the recipe. That's when I learned it was originally my great-grandmother's recipe. It's one that I will definitely make sure gets passed on! —Loretta Pakulski, Indian River, Michigan
Get Recipe
This is one of my great-grandmother's recipes that I received years ago from one of my great-aunts. We bake these cookies for holidays and other special occasions. —Kristy Deloach, Baton Rouge, Louisiana
Get Recipe
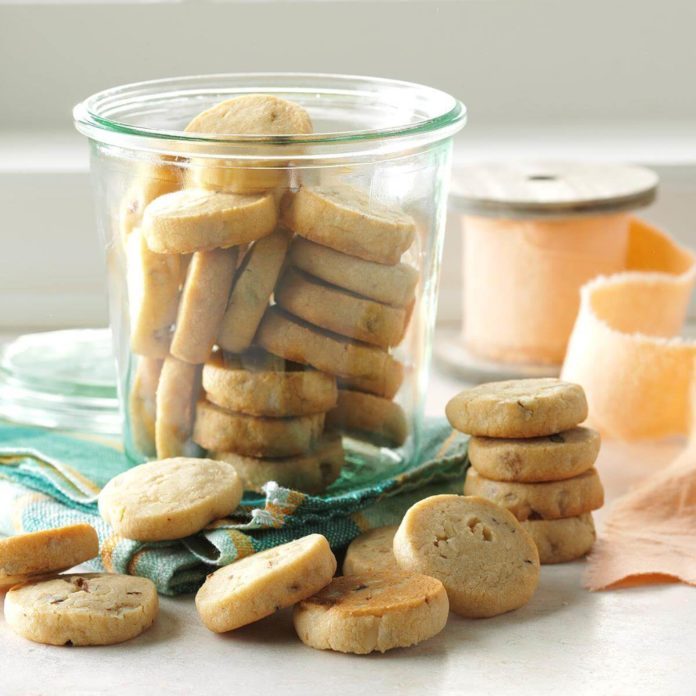
I usually make these bite-size cookies at Christmastime, when oranges in Florida are plentiful, but they're delicious any time of year. Every time I sniff their wonderful aroma, I remember my grandmother, who shared the recipe. —Lori DiPietro, New Port Richey, Florida
Get Recipe
The post How to Make Stamped Message Cookies appeared first on Taste of Home.
Caroline Stanko


