In the introduction to her cookbook, The Homemade Pantry: 101 Foods You Can Stop Buying and Start Making, Alana Chernila confesses that, before she learned how, she always wished she was the kind of person who made homemade butter. Once she learned, it was easy, but it always seemed like such a daunting task.
That sentiment really touched me because I, too, love making things from scratch. Like Chernila, I’m always looking for ways to increase my kitchen economy and stretch my grocery budget. But, the busyness of life always gets in the way of projects like this. I mean, who actually has the time to patiently churn butter each week? So I was intrigued by her simple, two-ingredient recipe for how to make butter, and I just had to give it a try.
Butter-Making Methods
There are a few different methods when it comes to making butter: to get the fat molecules to separate from the liquid, you’ll need to agitate the cream using a stand mixer, a high-powered blender or a Mason jar. A blender is hard to clean, and you have to shake a Mason jar by hand for 5 to 10 minutes, so I was stoked that The Homemade Pantry‘s recipe uses a stand mixer. It’s easy to clean and even easier to use!
Wondering if the KitchenAid is the best stand mixer on the market? We put it to the test, and you might be surprised by the results! (We tested blenders, too.)
The Homemade Butter Recipe
This recipe makes about 1/2 pound of butter. That’s 16 tablespoons or two traditional sticks.
Ingredients
- 1 pint heavy cream
- 1/2 teaspoon kosher salt
Initial thoughts
I love that this recipe requires just two ingredients! But, when shopping for heavy cream, I couldn’t help but notice that a pound of value butter cost just 99 cents, or I could upgrade to Kerrygold for $5. Since a pint of heavy cream ran me just under $4 and made only half a pound, making butter at home isn’t exactly as economical as buying store-bought butter. I wondered if it would really taste that much better than the stuff at the store.
Getting started
Following the directions in The Homemade Pantry, I started by combining the cream and salt in my stand mixer, fitted with the whisk attachment. Here are more great KitchenAid attachments.
Chernila recommends covering the bowl with a dish towel to prevent splattering (which, turned out to be fantastic advice!). Then, I turned on the mixer, starting on speed 1 and gradually increasing it up to 8.
She recommends peeking under the towel every 20 seconds or so to see how things are progressing, which is how I know that cream definitely splashed around. After about 3 minutes, the cream started to stiffen and had the look of whipped cream topping. I let the machine continue to run and, two minutes later, I heard a loud “sploosh.” The cream had broken, separating into solid fat and liquid buttermilk. I was well on my way to homemade butter!
Rinsing and squeezing
I poured off as much buttermilk as I could, reserving it in a jar in the refrigerator to use in one of these tasty recipes. I collected the butter into a large ball. It seems weird, but the next step is to rinse the butter with water, squeezing it to release as much buttermilk as possible. Any excess buttermilk can cause the butter to sour, so you want to make sure to get it all out! As a bonus, your hands get nice and moisturized as you go.
Following the directions, I placed the bowl in the sink and rinsed the butter under cold water. After rinsing, I discarded the water in the bowl, squeezing and gently kneading the ball a few times. I repeated this process about six times until the water ran clear and the butter didn’t release any liquid when I squeezed it. All in all, it took about five minutes.
Then, I simply patted it dry with a paper towel and placed it in my butter crock. Or, you can roll it into a stick and wrap it in plastic wrap or parchment paper. If you did a good job at squeezing out the excess buttermilk, your homemade butter is good for five days at room temperature on the counter, a week in the refrigerator or three months in the freezer.
The results
Would I spend this amount of time and effort to make butter for baking cookies and cakes? Probably not; it’s neither economical nor an effective use of time, and I’m not sure if I could taste the difference in a baked good anyway.
But, for serving with hot toast or homemade biscuits, I would absolutely do this again! The homemade butter was richer and creamier than the stuff from the store, and I loved its slightly grassy flavor and bright yellow color.
It tasted good with the pinch of salt I added at the beginning, but turning it into a flavored butter really took things to the next level.
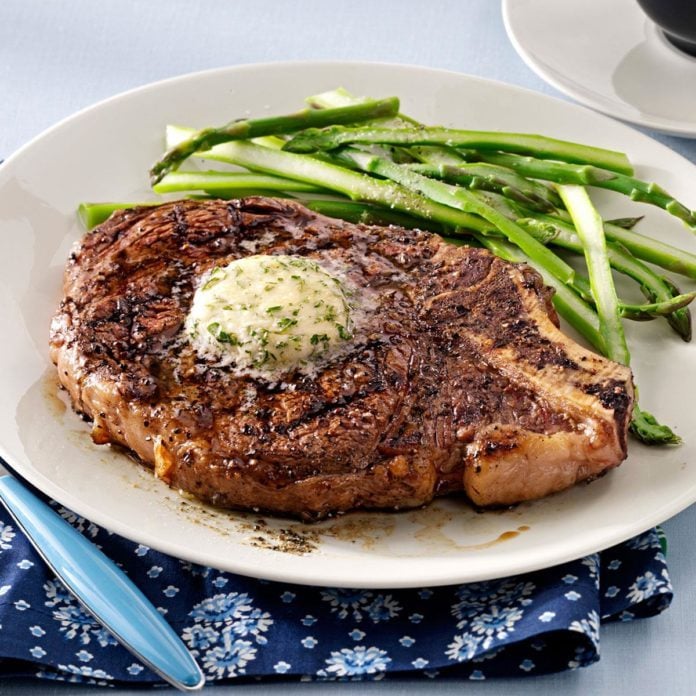
Grilled Ribeyes with Herb Butter
Butter Chicken Meatballs
Buttery Radish Baguette
Lemon-Butter Tilapia with Almonds
Rich Buttercream Frosting
Flaky Butterhorn Rolls
Buttery Grilled Shrimp
Corn with Cilantro-Lime Butter
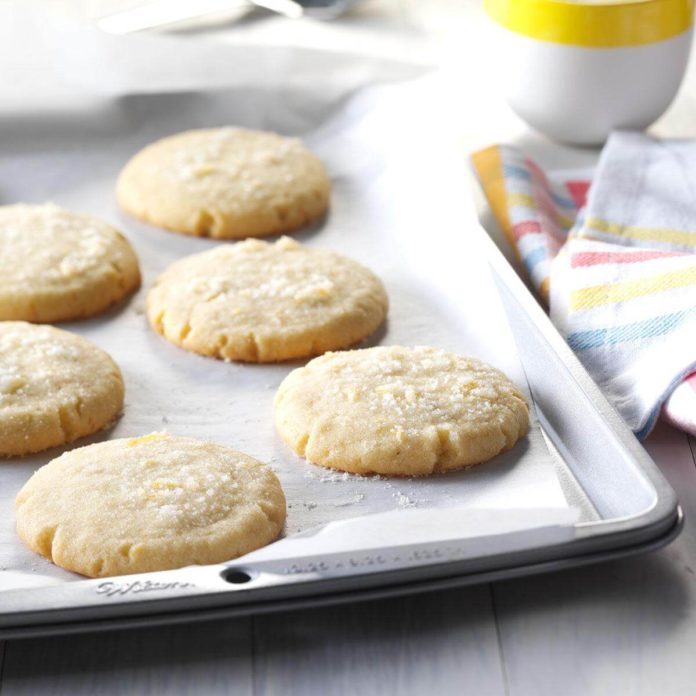
Lemon & Rosemary Butter Cookies
Buttery Onion Soup
Buttery Bubble Bread
Salmon with Lemon-Dill Butter
Honey-Butter Peas and Carrots
Grilled Ribeyes with Browned Garlic Butter
German Butter Pound Cake
Sage & Browned Butter Ravioli
Buttery Lemon Turkey
Pumpkin Gnocchi in Sage Butter
Bacon Walnut Bread with Honey Butter
Grilled Ribeyes with Blue Cheese Butter
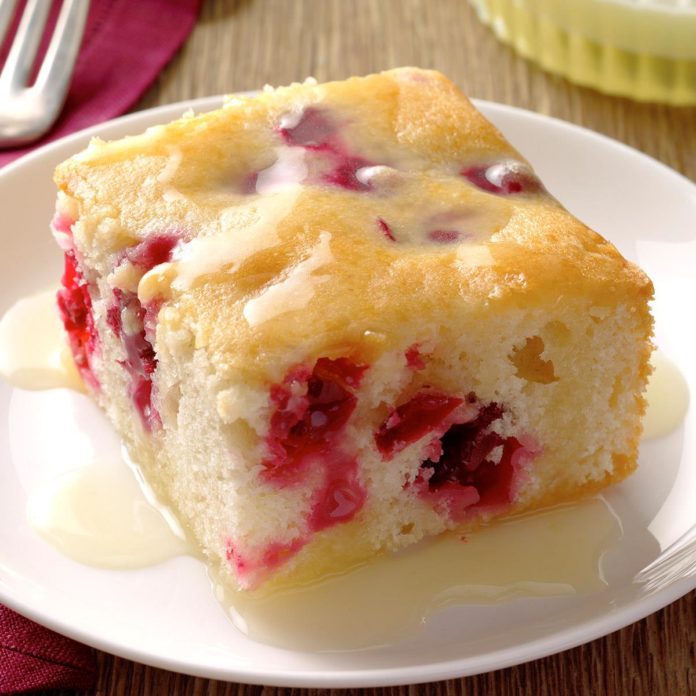
Cranberry Cake with Almond-Butter Sauce
Corn on the Cob with Lemon-Pepper Butter
Turkey with Lime Butter Sauce
Note: Every product is independently selected by our editors. If you buy something through our links, we may earn an affiliate commission.
The post How to Make Butter from Scratch appeared first on Taste of Home.
Lindsay D. Mattison


