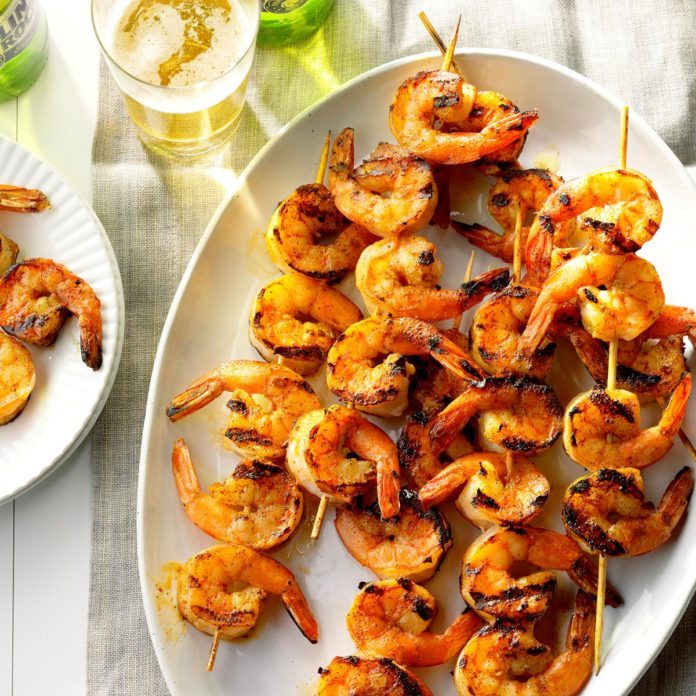
Looking for a quick and easy weeknight meal? Consider grilled shrimp. This lean protein source works with almost any flavor, marinates in no time at all and cooks up in a flash. What’s more, the tiny crustaceans are perfect as an appetizer, in salad or pasta or on a bed of quinoa.
Of course, turning all those tiny shrimp with tongs can get tedious. That’s why our Test Kitchen experts advocate seasoning shrimp in a simple marinade and then skewering them.
Selecting Shrimp
Have you ever wondered what the deal is with shrimp sizing? They’re available in jumbo, large, medium and small, and although these terms are frequently used on packaging, shrimp are officially sized per pound. A good rule of thumb: The fewer shrimp per pound, the larger the individual shrimp. Refer to the chart below for more detailed descriptions of each size category.
| Count | Description | Unofficial term |
| U10 | Fewer than 10 per pound | |
| U15 | Fewer than 15 per pound | |
| 16-20 | 16-20 per pound | Jumbo |
| 21-25 | 21-25 per pound | |
| 26-30 | 26-30 per pound | Large |
| 31-40 | 31-40 per pound | Medium |
| 41-50 | 41-50 per pound | Small |
Our favorite size for grilling is large (26–30 shrimp per pound). They’re big enough to not fall through the grill grates, yet small enough to be tender and juicy.
To Peel or Not to Peel
I always start by buying shell-on shrimp, even if I’m going to peel them myself. They’re less expensive, and I find that they taste better. Plus, I get to keep the shells to make seafood stock.
Peeling shrimp helps achieve maximum flavor—they’ll pick up the grill’s smoky essence as well as more flavor from the marinade. On the other hand, leaving the shells on yields especially juicy shrimp with more natural shrimp flavor. Either way, they’ll be totally delicious, so the choice is yours.
Sometimes the tails are left on peeled shrimp. This is a matter of preference—it gives the shrimp a nicer appearance, but it can make them a bit messier to eat.
Skewers: Metal or Wooden?
Both metal and wooden skewers work well for grilling shrimp. If you’re using wooden skewers, be sure to soak them for at least 20 minutes (or up to 4 hours) so they don’t char when they hit the hot grill.
How to Grill Shrimp
Serves: 6
You’ll need:
- 1/3 cup lime juice
- 3 tablespoons minced fresh cilantro
- 2 tablespoons soy sauce
- 3 garlic cloves, minced
- 2 teaspoons olive oil
- 1-1/4 pounds uncooked large shrimp (26-30 per pound), peeled and deveined
Tools:
- 12 metal or soaked wooden skewers
- Gas, charcoal or pellet grill (any one will do!)
Step 1: Turn up the Heat
Shrimp don’t need much time to marinate, so go ahead and get the grill preheated while you prep.
Set the gas or charcoal grill for medium heat. Not sure what medium feels like? Hover your hand five inches over the grill grate. In about six seconds, it should feel too hot to leave it there. Or, if you have a thermometer on your grill, the gauge should read 350 degrees.
Test Kitchen tip: Once the grill is preheated, scrape it with a wire brush to remove any built-on grease or debris. A clean grill grate is essential to prevent the shrimp from sticking.
Step 2: Create Flavor

The best part about shrimp might be that it’s so easy to create a flavorful experience. It soaks up the flavor of a marinade in a mere 15-20 minutes—and you really don’t want to let it sit much longer than that. The acid in the marinade breaks down the proteins in the meat, which can cause a tough, rubbery bite.
In a large bowl, whisk together the first five ingredients until they are well blended. This recipe makes about 1/2 cup of marinade per pound of shrimp. Add the shrimp and toss to coat. Cover the bowl; allow it to sit for 15 minutes on the counter (or 30 minutes in the refrigerator).
Test Kitchen tip: There are two ways to flavor shrimp: liquid marinades (like the one in this recipe) and dry spice rubs. For dry spice blends, you only need 1–2 teaspoons per pound. Premade seasonings like Cajun, jerk or Tajin Clasico work really well, but feel free to make a customized blend using your favorites from the spice rack. Dry rubbed shrimp don’t need any time to marinate: Just pat the shrimp dry and toss them with the spice until they’re coated. Since dry rubs don’t use oil, be sure to oil the grill grates to keep the shrimp from sticking.
Step 3: Thread ’em Up

Skewering shrimp couldn’t be easier. You can definitely knock it out solo, but I love getting everyone involved in this step. It’s fun for the kids (or your dinner party guests) to be a part of the process, so grab a few helpers and throw a skewering party.
Drain the shrimp and discard the liquid. Place shrimp in a colander over a plate to catch any excess liquid. Hold the skewer in one hand and a shrimp in the other. Gently pierce the thickest part of the shrimp with the pointed end of the skewer. Thread the skewer through the shrimp, curling the tail toward the head, and finish by threading it through the skinny end, about an inch above the tail.
Continue threading shrimp onto the skewer, leaving a sliver of space between each one to help them cook evenly. For appetizer portions, limit the shrimp to three per skewer.
If you don’t have skewers, you can skip this step and cook the shrimp on a grill rack like this (to keep them from falling through the grate). You will have to turn each one individually, though, which is why we prefer the skewering method.
Test Kitchen tip: Use flat skewers if you have them. (You can also find them on Amazon.) Round skewers sometimes cause the shrimp to spin, making it hard to get even coverage on the grill. If you notice the shrimp spinning, thread a second skewer (running parallel to the first one) through the shrimp. This double skewer method is especially useful for very large shrimp.
Step 4: Hit the Grill

OK, get ready for this: Shrimp only need 2-4 minutes per side, depending on their size. That’s not very much time. So come prepared, and don’t walk away from the grill. There’s no time for multitasking—washing dishes, for example, or grabbing a beverage—while the shrimp cook. Overcooked shrimp, like overmarinated shrimp, are rubbery and tough. No thanks!
Start by lightly coating the clean grill grates with oil—especially important if you’re using a dry spice rub. Moisten a paper towel with cooking oil and, using long-handled tongs, rub it on the clean grill grates. Place the skewers directly on the grill and cook, covered, for 2-4 minutes.
Using tongs, flip the skewers and cook for another 2-4 minutes on the second side. Not sure if they’re done? Shrimp give you a visual cue. They’re ready when they go from opaque to light pink.
Place the skewers on a plate and head to the patio table. With shrimp this juicy and flavorful, you won’t even need a dipping sauce. We like to serve them with lime wedges, which really make the flavors pop.
Now that you know how easy it can be, you’ll be looking for any excuse to fire up the grill!

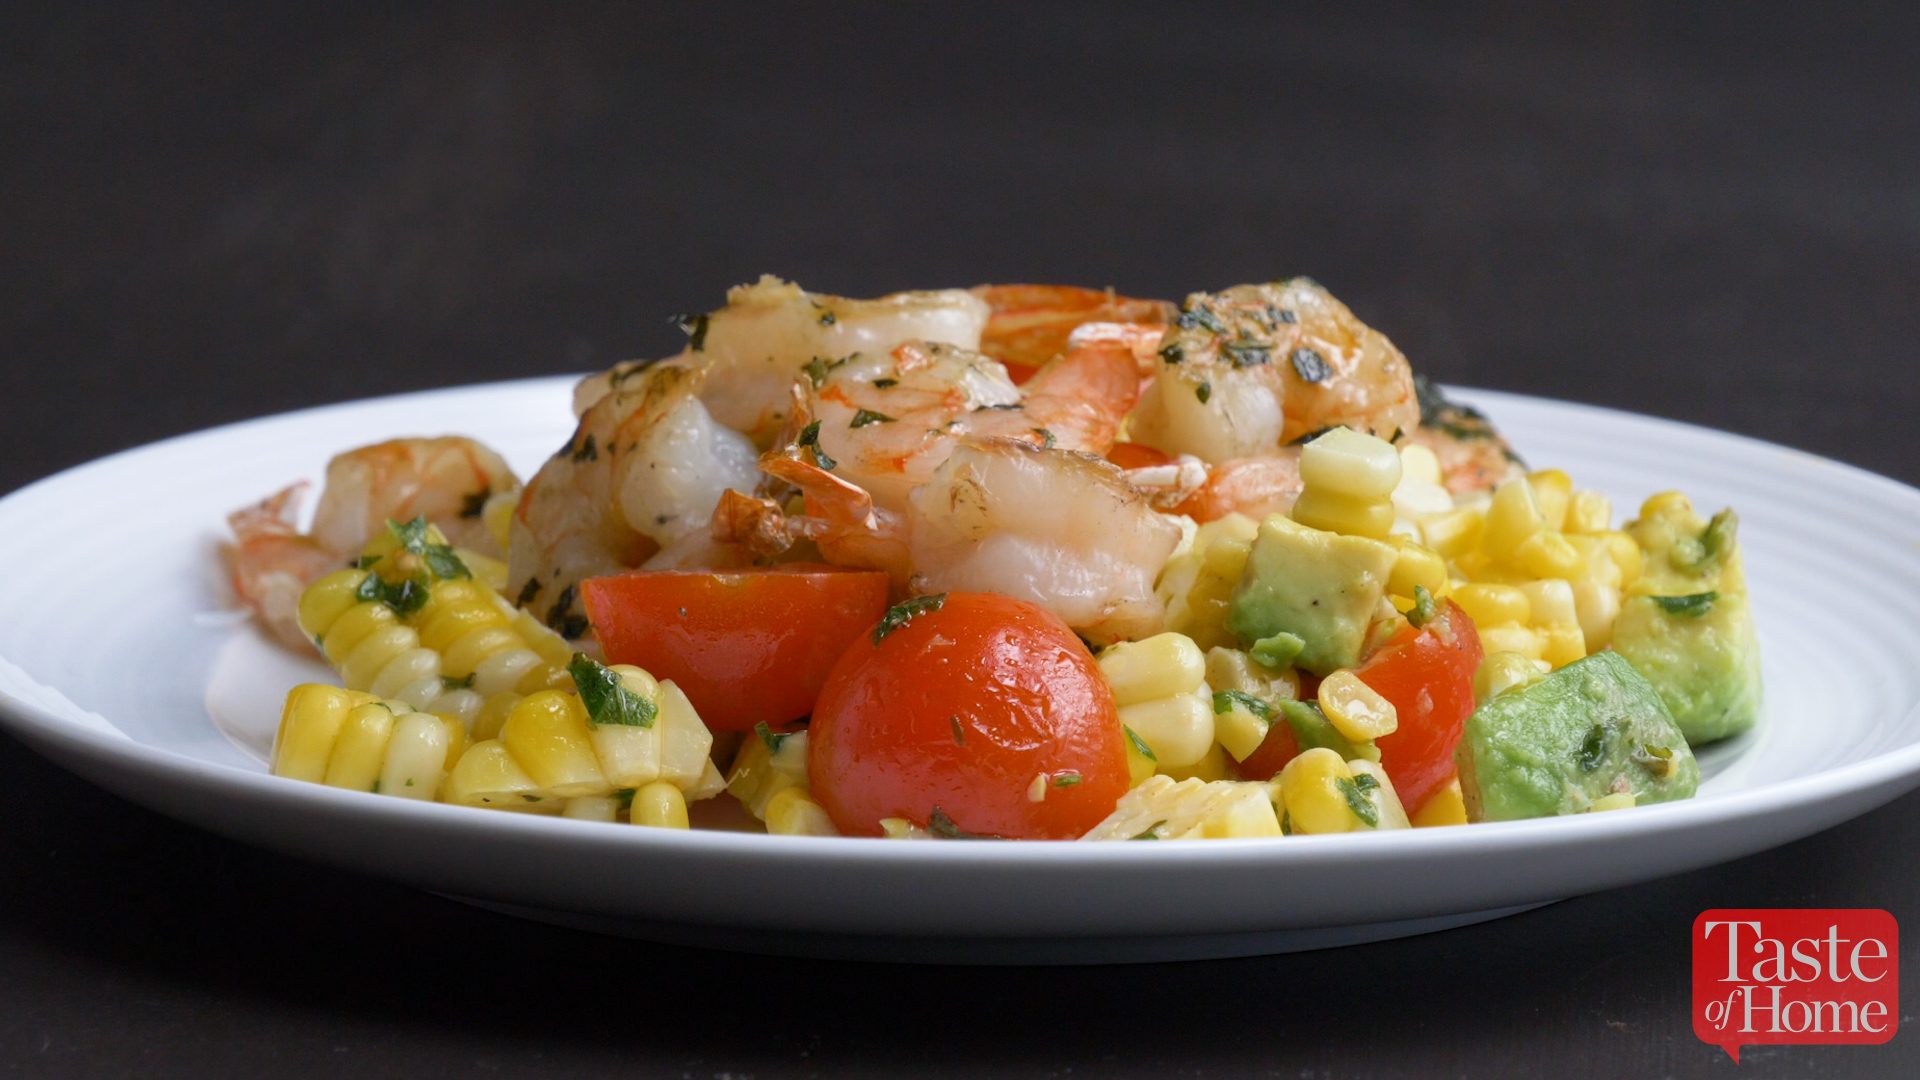
Pesto Corn Salad with Shrimp
This recipe showcases the beautiful bounty of summer with its fresh corn, tomatoes and delicious basil. Prevent browning by placing plastic wrap directly on the salad or spritzing with lemon juice. —Deena Bowen, Chico, CaliforniaCajun Boil on the Grill
Cilantro Lime Shrimp
Grilled Jerk Shrimp Orzo Salad
Lemon-Basil Grilled Shrimp & Couscous
Shrimp & Sweet Potato Skewers
Grilled Shrimp Panzanella
Grilled Lemon-Dill Shrimp
Spicy Shrimp & Watermelon Kabobs
Grilled Seasoned Shrimp
Grilled Shrimp & Tomato Salad
Appetizer Shrimp Kabobs
Zippy Shrimp Skewers
Crab & Shrimp Stuffed Sole
Grilled Chipotle Shrimp
Buttery Grilled Shrimp
Barbecued Shrimp & Peach Kabobs
Finger-Lickin'-Good Shrimp
Lemony Shrimp & Tomatoes
Mini Shrimp & Sweet Potato Kabobs
Tangy Shrimp Kabobs
Note: Every product is independently selected by our editors. If you buy something through our links, we may earn an affiliate commission.
The post How to Grill Shrimp in 4 Simple Steps appeared first on Taste of Home.
Lindsay D. Mattison


